He Started With Some Boxes, 60 Days Later, The Neighbors Could Not Believe What He Built

This homeowner observed his boring green lawn, and he started to ask himself, “so what’s the point?” Although it looked nice, it gave him no satisfaction. It was a lot of work to keep too. So he decided to try something else. Check out what he did next.
cool-plants-lawn-boxes
Since the city was giving away compost for free, he got some and that’s what you see in the boxes.

2

Support systems started coming up as the seeds began sprouting.

3

For this guy, the hardest part was developing the irrigation system.

4

Cinder blocks and wood chips fill in the rest of the lawn.

5
erer
6

The arugula came first.

spinach

Then spinach was the next to arrive.

beets

Beautiful beets brought some color.

radishes

Everything’s coming up radishes.

carrots

Here’s a whole wreath of carrots, pulled from this man’s lawn.

peas

Yes peas.

free

There was so much yield, the guy had to give away some of his vegetables.

onions

Some good-looking green onions.

beans

The green of these beans is perfect.

tomatillos

What a lovely bunch of tomatillos.

cucumber

Big and beautiful cucumbers.

peppers

Just one of a bunch of peppers.

blossom

As an added bonus, he noticed beautiful flowers blossom before squash grows.

cinder blocks

Cinder blocks are perfect for growing herbs.

boom

Feast your eyes on this!

Source: http://themetapicture.com
Images: imgur

Why and How I Quit My Job, To Be a Full-Time Homesteader

Source: The More One Sows; The Greater The HarvestThis is the story of how and WHY I quit my full-time job, away from my home, to become a full-time homesteader. Can it be done? Of course it can.  And although I’m not advocating rushing off to put in your “two weeks notice” after reading this article, maybe it will give you something to think about for your future, where you want to go from here & how you can go about doing it.DSC_6803

So WHY did I quit my job?  It certainly wasn’t an easy decision. I had spent just over a decades worth of my time engulfed into my career.  I owned a small business and cherished the relationships I had built because of my job so leaving and closing the doors forever seemed a bit robust at first.   It was something I had been thinking about for a while, but then all of a sudden it just came to me and an overwhelming sense of peace came over me and I knew that “my calling” was to be home.

So if “my calling” was to be at home, and to pour everything I had into being a full time “mommy-homesteader”, was it going to work? Where would I struggle? How would I make the transition from career woman to living my life full-time on our urban farm?  Would I eventually give up my shoe collection all together and find myself wearing my hair in a bun everyday?  What was going to become of the person I had been for the last 10 years?  All of these were questions that I had and have since learned the answer too.

DSC_3417

My Kids. 
Obviously, this is one of the biggest perks of quitting my job and becoming a full-time homesteader.  Being able to devote more of my time and energy to them has been better for all of us.  I feel like a better mother, and better caretaker.   I am truly INVESTED in my children. From the moment they wake up in the day, until everyone gets tucked in, I am there.  I find myself having more patience. I truly have been able to slow down to enjoy every moment with them though-out the day.

Homeschooling. 
Homeschooling has become very important to me over the last few years as I’ve been more and more concerned with the problems of our broken school system.  I feel at peace knowing that I’ll be able to homeschool my youngest daughter now that I am a full-time stay at home mom.   I feel privileged to be able to teach my daughter in a way that I know will suit her best, and she’ll be in a safe and loving environment without the struggles that come along with being in a public school.   With a “faith-based” curriculum, I’m confident I can teach our daughter all that I can about how this world works and give her the basic tools to start creating a wonderful life for herself.

Saving $.
I’m not kidding, I actually SAVE money by not going to work everyday.  That $5 latte on my morning drive to work, the constant refilling of the gas tank, not having to buy new shoes and work apparel constantly…it all adds up. No buying lunch while I’m work….Not to mention the money I’ve saved on rent/ utilities/ and overhead costs associated with the small business I owned.

DSC_5145

Better Health.
Staying at home during the day to tend to my home, garden, and farm chores has been good for my health.   When I stopped feeling like I had an obligation to be somewhere all of the time, I began to learn to focus my day around things that were important to me. Things like cooking, cleaning, making a home, tending to our chickens and goats during the day, talking to my plants, teaching my children different aspects of running a homestead, exercising, and preparing healthy meals for my family.   I learned to slow down, and just enjoy the day as it came to me.  I learned to prioritize what was truly important and what was best for my family.   Less stress makes for a better day and when you cut out the demands of a job away from home, it’s nothing but natural to feel as if a weight has been lifted off of your shoulders. It’s so relaxing to be able to take a deep breathe and just enjoy your surroundings, your home, your garden, your family.

Quality of Life.
I’d say not only has my quality of life gone up, but so has the lives of my family members. Because I am less stressed and more focused on goals and priorities I have within my home, everyone wins.  I’ve become more spiritual, and happier because of my decision to stay home and truly devote my time to this family and our homestead.  More gets accomplished around here now, which brings along an incredible amount of self-satisfaction.  At the end of the day, being home has made me a happier, healthier, and more spiritual person.

Read the rest of the article here: http://www.themoreonesows.com/2014/10/why-i-quite-my-job-to-be-full-time.html

How to Select the Best Grow Light for Indoor Growing

Not all light is the same by Michelle Moore

Plants respond differently to different colors of light. Light on either end of the spectrum, blue light or red light, have the greatest impact on photosynthesis.

Kind of Lights

Blue light, referred to as cool light, encourages compact bushy growth.

Red light, on the opposite end of the spectrum, triggers a hormone response which creates blooms.

Orange and reddish light typically produce substantial heat, however, some lights are able to produce full spectrum light without the heat.

Grow lights come in all shapes, sizes and price ranges.

As a general rule, inexpensive lights to purchase tend to be the most expensive to operate and the least effective. While price is not necessarily an indicator of performance, many of the efficient grow lights require ballasts as well as specialized fixtures.

new

Image of vegetable being grown indoors under artificial light is via fortikur.com.

Check out SeedsNow.com if you’re looking to grow organic vegetable and herbs from seed. They have a huge selection of seeds that grow well using indoor hydroponic systems!

Click here to read more about what GMOs are. It’s really easy for you to grow all kinds of vegetables, herbs, and sprouts inside.  All year long!  Invest in a grow light and you’ll be happy.
Your turn!  Are you growing anything indoors?  Which grow lights have you found to be most effective?

5 Ways To Grow Organic Food In Small Spaces For Preppers, Survivalists And Every Day Folks

pallet-garden-e1382450563458
Just came across this post over at jbbardot.com I think everyone should read.  You can read the full article here.  With the constant onslaught of GMOs, pesticides, and chemicals making their way into the food supply, growing food in your home garden has become less of a hobby and more of a necessity. Many people have now begun to grow a large portion of the fruits and vegetables they consume at home, and an increasing number do so without the luxury of vast amounts of land. Food can be grown in just about anything, and all it takes is a little knowledge and effort. Even if you only have an apartment balcony, there are techniques that can help you produce your own impressive harvest, and this article looks at 5 different ways to grow food in a limited space.

Vertical Gardening

Vertical gardening has become fashionable lately with many interior designers including a ‘green wall’ in office buildings, and they are often used to cover the exterior of museums and galleries to create a ‘living art’ feature. However, their true appeal lies in their effectiveness for growing food, and they are perfect for patio gardens, balconies, or for anyone wishing to maximize their vertical garden space. Most large DIY stores sell container kits that can be attached to a trellis and then attached onto a wall, or you could even make your own containers using 2 litre plastic bottles or empty plastic pots. For those without an outside space, Windowfarms sell a hydroponic indoor vertical gardening kit that feeds and waters itself, and manufacturers claim it can grow everything from herbs to strawberries in just about any climate.

Square Foot Gardening

Square foot gardening found popularity in 1981 when gardener Mel Bartholomew demonstrated how to grow a substantial amount of food in a container or vegetable bed measuring just 4ft x 4ft, and his technique has been emulated in homes all over the world. Square foot gardening involves dividing the space into 16 different squares and planting different seeds in each space. As each crop is harvested a different plant takes its place, and the tallest plants such as tomatoes and leeks are situated at the back. In his book All New Square Foot Gardening, Bartholomew recommends a soil mixture of peat moss, vermiculite, and compost to yield best results, and regular rotation of crops will ensure fertile soil. This method is perfect for new gardeners as it is easy to maintain and needs only a few materials to start up.

Growing Food in Pallets

Shipping pallets can be recycled into just about anything, and an entire culture has evolved around creating spectacular pieces of furniture using pallets and other pieces of wood salvaged from shipping yards. Pallets also make excellent vegetable planters and are perfect for shallow root vegetables and succulents. Once filled with soil, the pallets can be layered on top of each other and different vegetables planted around the sides and along the top to maximize growing space. They are also ideal for vertical gardens and can easily be fixed to a wall or fence.

Growing Food in Containers

Container gardening is the most popular choice for balcony or patio gardeners, but you are not limited to the usual plastic tubs. Attach a wire from one end of your space to the other and hang baskets filled with cherry tomatoes, lettuce, cucumber, and herbs to make the most out of your air space. For a quirky touch, search your local thrift stores for some large size men’s work boots and use them to plant herbs and small veggies, or take an old freestanding bathtub and fill it with carrots, spring onions, lettuce, and kale. Other items that can be recycled to use as growing containers include car tires, laundry baskets, tin cans, and casserole dishes. Container gardens are perfect for those who live in cooler climates as they can easily be brought inside when the winter frosts arrive.

Growing Food Indoors

Even those without an outdoor space can grow their own organic… READ THE FULL ARTICLE HERE: http://www.jbbardot.com/5-ways-to-grow-organic-food-in-small-spaces-for-preppers-survivalists-and-every-day-folks/

3 Simple Ways to Use Mint From Your Garden

Mint is a weed…

…that means it grows like crazy and should be kept in a container.

If you are growing mint, you likely have more that you know what to do with. You can easily harvest it to encourage more growth too.

There are lots of posts out there that give you dozens of ways that you can use mint. How many of them can you actually use everyday though?

How to use mint from your garden…everyday

That’s why I wanted to write this simple and practical post for you.

Let’s begin. Here they are:

Hot tea

This is a simple one. Put some mint leaves in a mug. Boil up some water. Pour the water over the mint leaves and let it sit for a few minutes. That’s it.

Mint tea is good for upset stomachs and helps with digestion.

Spa water

We should all be drinking more water. It’s essential for our health and well-being.

Some people complain that drinking water is too bland and boring.

You can add some flavor to it pretty easily. This is slight variation of the tea. All you have to do is fill up a large pitcher with water and add in mint leaves.

It will give the water a minty flavor.

Chewing gum alternative

Face it, your breath stinks. I can smell it through my computer.

So why not pull off some mint leaves and chew on them. It’ll help to freshen your breath and help you to make more friends.

Your turn

Share this post with friends and family that have so much mint they don’t know what to do with it.

What to Plant in September

Summer is gone and September is upon us.

You think you missed your chance to start your garden and will start it next year…

…That’s just a lame excuse though.

You’ve made dozens of excuses why you can’t start. I’m sick of them and you should be too.

It’s not too late to start your garden!

That’s true for most of you in the United States.

Yes, your options are limited, but you can still start something.

It’s all about getting over the excuses and starting. You’ve made enough excuses that have kept you from starting.

Now is the perfect time to begin.

What can you grow?

Here is a list of veggies you can plant this month:

  • Beet
  • Broccoli
  • Cabbage
  • Carrot
  • Cauliflower
  • Cilantro
  • Collard Greens
  • Dill
  • Endive
  • Kale
  • Lettuce
  • Radish
  • Spinach
  • Swiss Chard
  • Turnip

Spinach is one variety that can be planted all over the country … so channel that inner-Popeye of yours, get over your excuses for not starting, and get that spinach planted!

Where can I buy seeds?

Check out: SeedsNow.com for NON-GMO seeds. Use promo code: URBAN10 and get 10% off your order.

They have a Seed Finder Tool that makes it really easy to find seeds that grow in your zone. You can even find seeds that grow in containers, tower gardens, raised beds, and seeds that can tolerate cold temps.


UOG on Facebook:

Come check out the Urban Organic Gardener Facebook page for more tips, tricks, and pics.

The Easiest Thing to Start Growing

What is the simplest thing you can grow?

Which vegetable is pretty much failproof?

What is the one vegetable that is recommended for beginner’s to start with?

These are questions that I often get and the answer is pretty simple.

It’s not tomatoes

I’ve been very vocal and shared why most of your garden’s will fail before.

One of those reasons is that when you are first starting out, you want to grow tomatoes, peppers, cucumbers and eggplant.

These are all possible to grow, but they are more difficult when you are first starting out.

Why?

Because they require more sunlight, fertilizer, time and attention. That’s a lot to give when you are first starting out.

My top recommended crop

That’s why I always recommend that people who are first starting out to keep it simple and grow some greens.

Any kind of green – lettuce, spinach, chard, kale…any leafy green will be pretty simple.

Here’s the deal – we all know what to do with greens and can sure eat more of them in our diets.

Once you successfully grow them, then start with your tomatoes and peppers.

For the experienced gardener — those of you that have been gardening “longer than I’ve been alive” (which you love to tell me so much), this post isn’t for you.

Still need help starting your garden?

If you are still feeling overwhelmed and want step-by-step instructions on starting your garden, then enroll in my Fall Gardening 101 course today.

Your turn

In the comments below, share which leafy green you are going to start in your garden.

Simple Rules for Starting Your Seeds

Seed starting.

Who thought that it could be so intimidating…

..but there are lots of questions and things to take into consideration when starting your seeds.

We’ve already covered some basic seed starting tips and tips for those of you starting indoors, but I want to make it even more simple and basic.

Because that’s how I do.

One-liners to help you start your seeds

On the Urban Organic Gardener Facebook page, I’ve been sharing gardening tips.

They’ve been pretty popular, mostly because I think they are so simple to follow and easy to remember.

I thought that they’d make for a great post…so here they are:

Thanks to my sponsors SeedsNow.com and Thrive for the tips.

Your turn

“Share” this information with your friends and family to help them to get their seeds started.

Are Squirrels Getting the Best of Your Garden?

Does it seem like squirrels are eating more from your garden than you are?

Those long tailed furry rodents can be a huge pain in the…garden.

Squirrels are smart and persistent creatures. If they want something, they will do what they can to get it.

Squirrels on rooftop garden

In this Q&A segment, Kevin from Philly is having squirrel problems and wants to know what he can do.

He says, “I live in Philadelphia and have no green space…but I do have a roof deck and have spent the last few months getting it set up as both an entertaining and gardening space. I started small last year, but have expanded with lots of containers this year. I have an I’d love to hear more about:

Squirrels, those damn furry ninjas ate a ton of my seedlings…and I think the birds are in cahoots as well, they pulled up all of my chive seedlings. Weeks of starting things from seeds got wasted. Any advice on wildlife proofing the urban garden?”

Simple tips to keep squirrels from your container garden

  1. I suggest securely fixing chicken wire around the containers to keep the squirrels away. You could also use another kind of fencing, wiring or mesh to keep them away. I know you are using the space to entertain as well, so you need to keep the aesthetics on point.
  2. Distract them with a plate of food. To help keep them away from your crops, put out a bowl or dish of food for them to chow down on.
  3. People have also recommended using an airsoft gun to keep them away. That can turn into a game.

Between the fencing and the food, the squirrels should be kept in check.

Thanks Kevin for holding it down in the 2-1-5 (I went to school and lived in Philly for 10 years).

Your turn

In the comments below, let me know what kind of urban wildlife you are having trouble with in your garden.

Photo courtesy of likeaduck on Flickr.

How Megan Got Rid of Her “Black Thumb” and Created Her Balcony Garden (a case study)

She called her thumbs black.

She said that the gardening gene skipped her generation.

That’s what Megan Blevins was telling me on Twitter during the winter.

We Tweeted back and forth about it and I assured her that her thumbs need not be green, but they just needed to be opposable.

(Two things about that sentence. 1) I can’t believe that I wrote “We Tweeted…” 2) I can’t believe that you understand it.)

That and some additional encouragement was what she needed to get her first garden prepared.

Megan is a writer and first-time paranoid grower.

Here is her story as told by her…

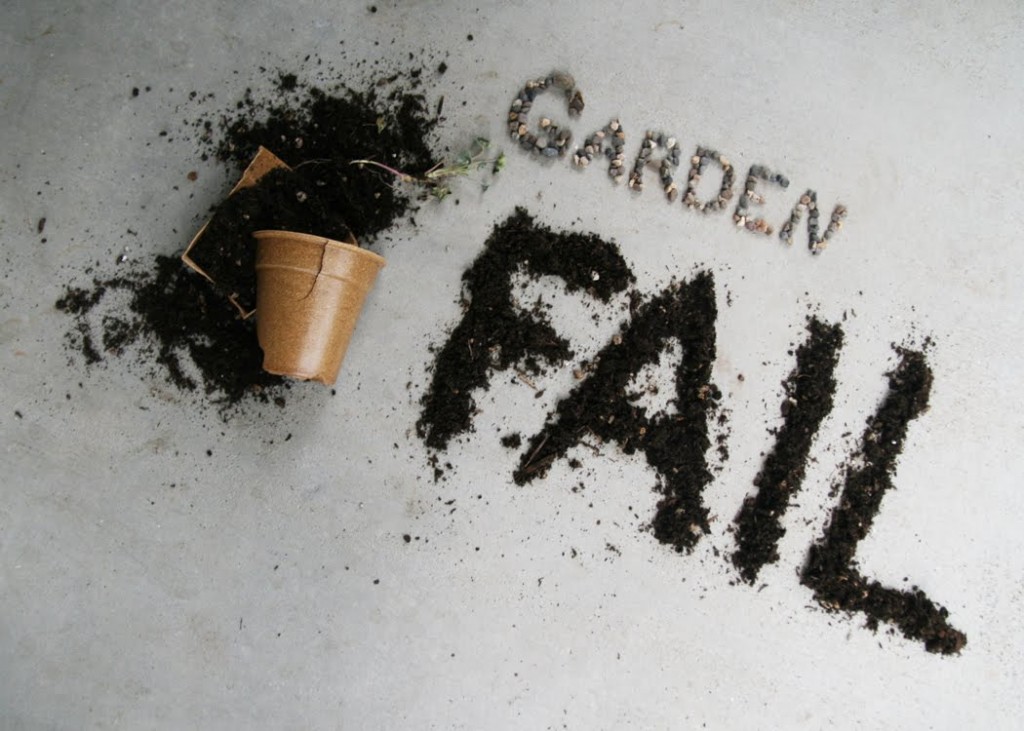
I was an unqualified grower

Despite the fact that I grew up in North Georgia eating the freshest produce grown by my mom and dad, I’ve never really wanted to grow my own food, because I had convinced myself that I was incapable—incapable of keeping a plant alive, let alone growing a garden.

For example, flowers that I received as presents always died within 24-hours. You could say my “green thumb status” was at an all-time low.

My quest to become a gardener became a personal challenge.

I had run out of excuses to not to grow my own food; I needed to stop complaining, pull up my big-girl panties, and start growing.

And that’s where Mike came along.

After months and months of talking about it, a co-worker of mine told me about Mike Lieberman and how he was an urban gardening expert that I could reach out to over social media.

I decided to give it a whirl—and I’ll be honest, it was Mike’s encouraging words and sincere outreach to me that tipped me over into the gardening world: “You don’t need a ‘green thumb’ to garden, just two opposable ones.”

The advice became my gardening motto.

My expertise… or lack thereof

As I mentioned, my prior gardening experience was negative zilch.

Even though I had grown up eating fresh tomatoes, bell peppers, squash and raspberries, I didn’t know how to make things grow.

I knew that I needed soil, seeds and water, but it was making them all work together that I needed help with.

I read every single one of Mike’s posts on his website. I learned that I needed to germinate seeds weeks before I planted them outside.

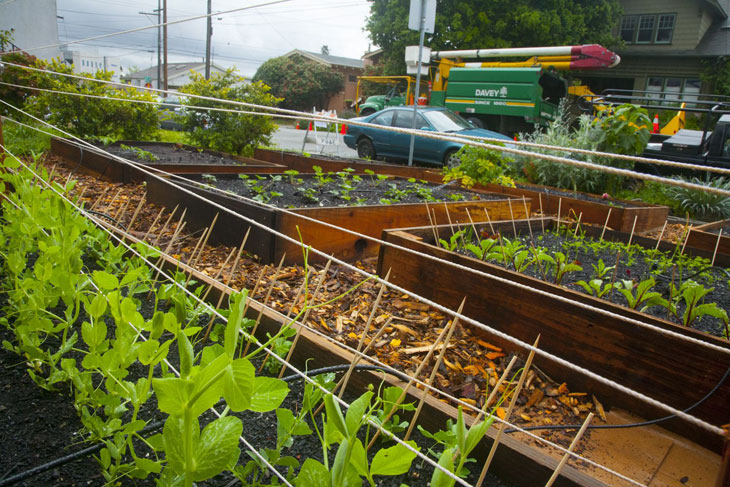
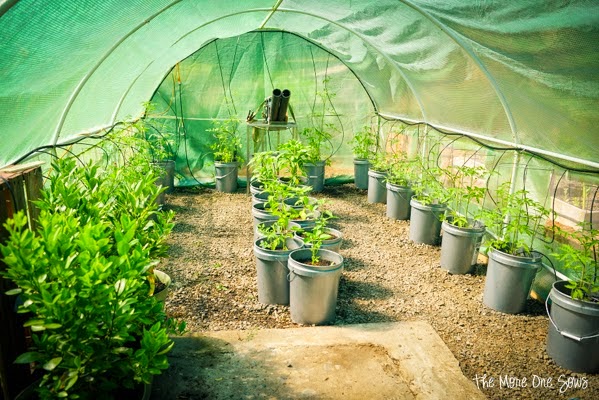
Mike’s posts helped me determine how much sunlight my balcony received, and how to make my own greenhouse and growing pots. And, I also learned that I don’t need a lot of space to grow my own food.

Sometimes, I feel like gardeners are squeezed into a category of “you must live in the suburbs and you must have a huge backyard to be successful;” but that’s not me—nor is it most people.

Step-by-Step

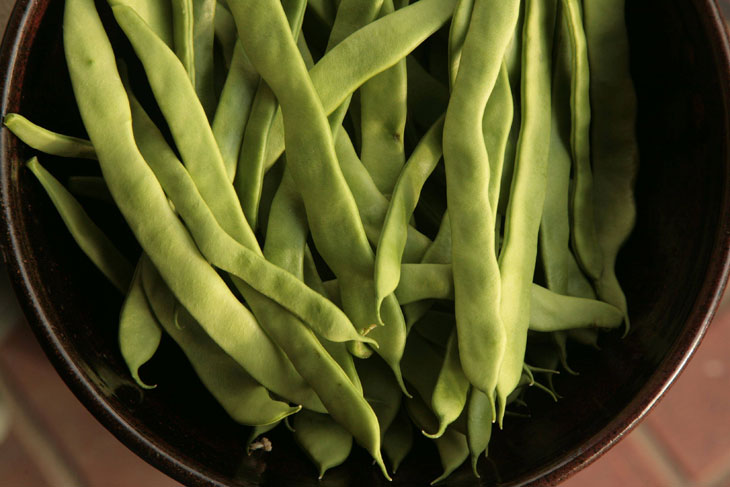
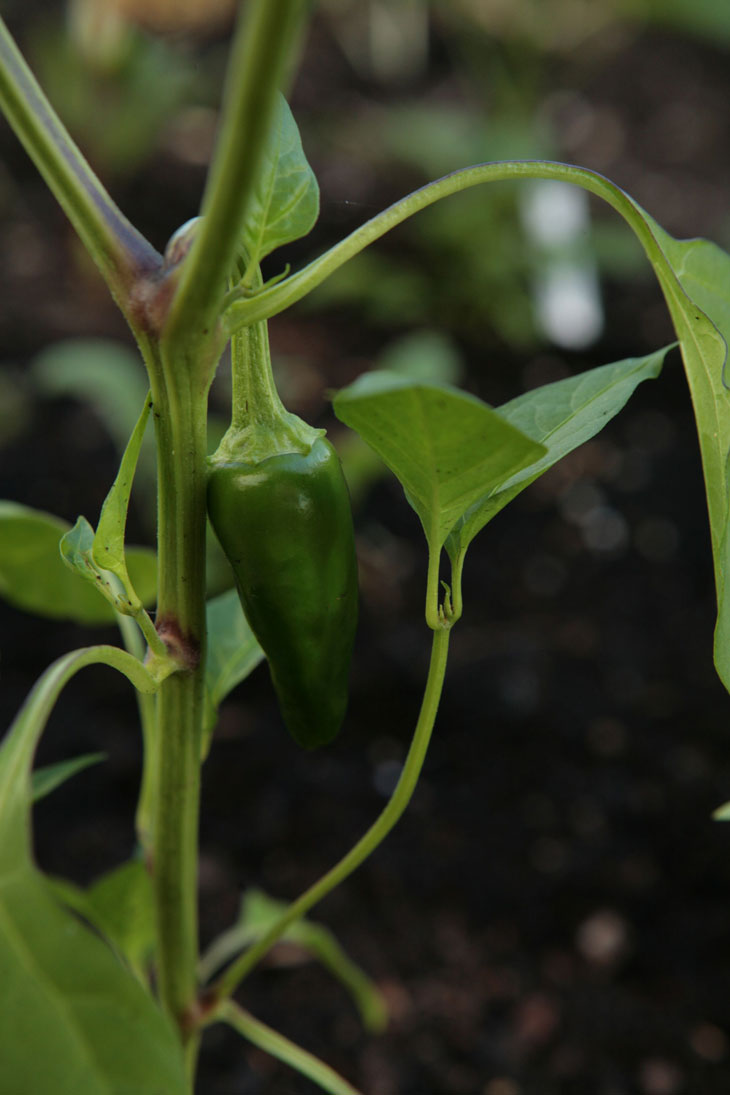
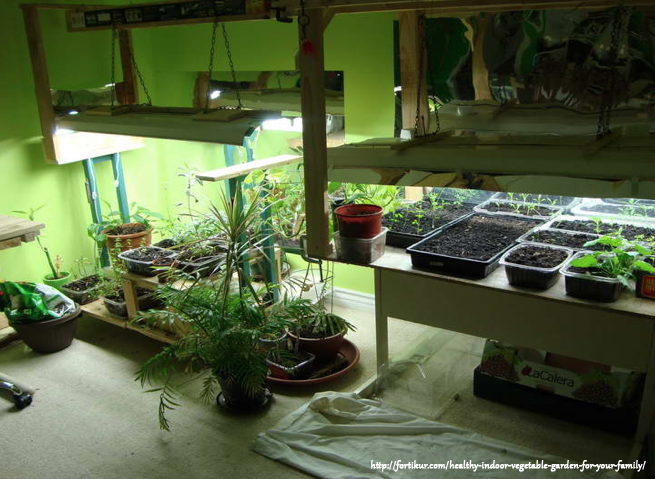
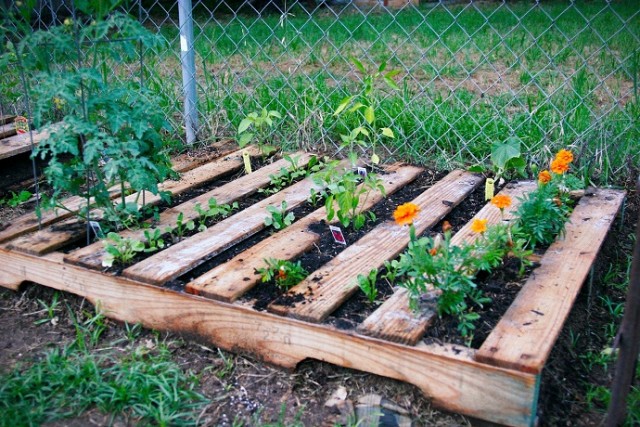
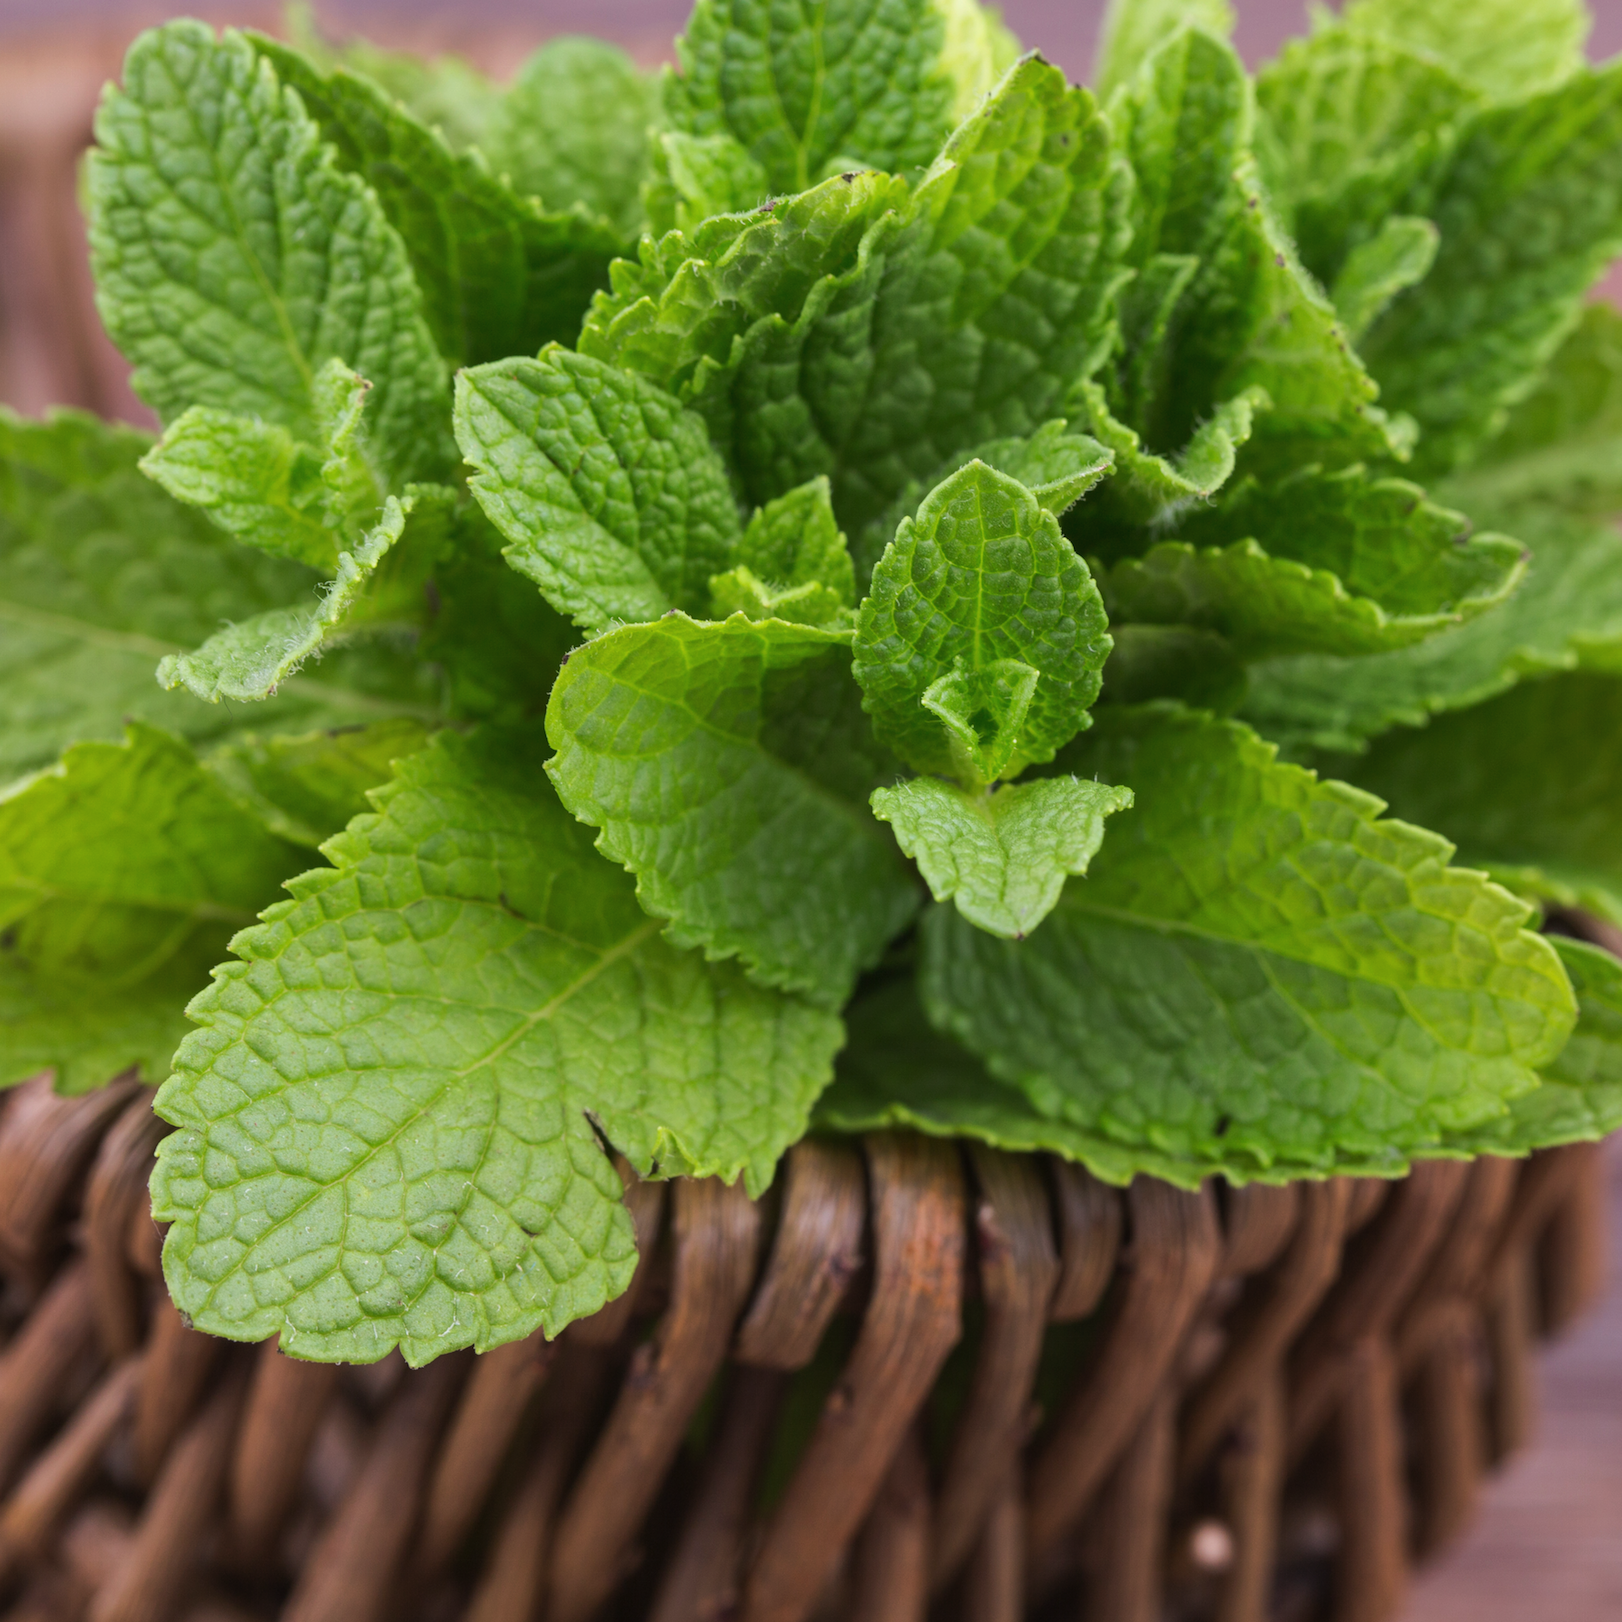
Starting in February, I germinated cherry tomatoes, bell-peppers, mint and jalapenos in my apartment.

I made homemade greenhouses to keep them warm and watered them. I had no idea whether or not I was actually doing this whole gardening thing “right” till five weeks in after my first seed sprouted.

It’s silly, really, but I don’t know if I will EVER forget what it felt like to see that first sprout.

I danced around the apartment—I may have even screamed to have my boyfriend come over and see.

I felt accomplished and that I was doing something good for myself and for the environment. “My babies” instantly became my pride and joy, especially as they continued to grow.

After fear of the last frost passed, I planted my seeds outside (all except the mint, which never sprouted). I water them every-other-day, and also planted petunias, daises and poppies on my balcony.

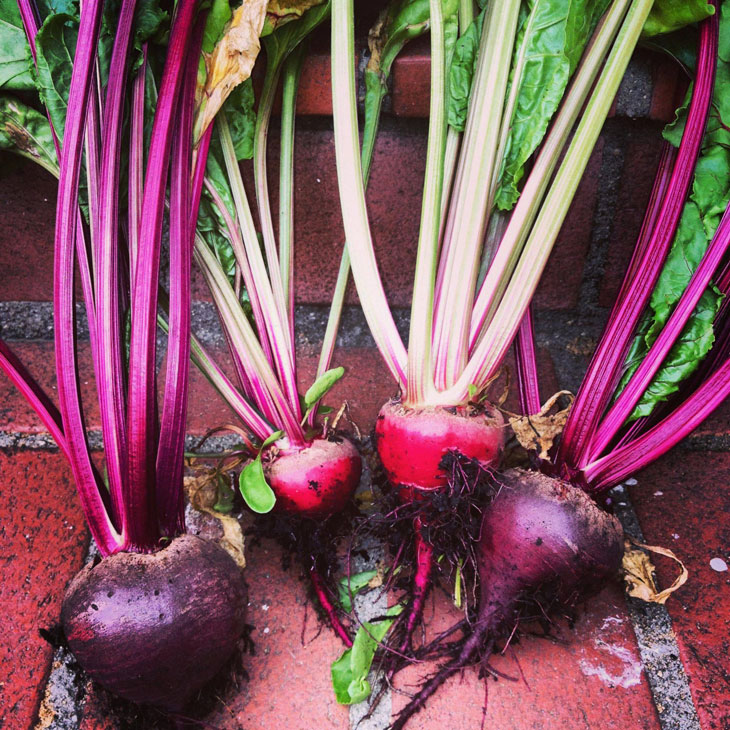
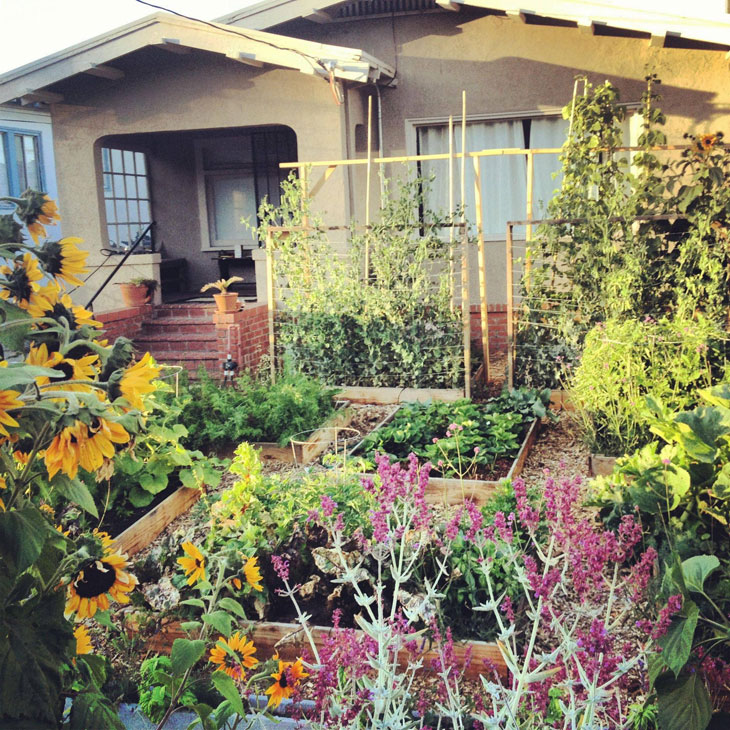
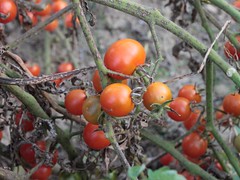
Today, my garden is HUGE. I swear my cherry tomatoes grow 3 inches a day and all my guests compliment me on my new skills.

What I have accomplished may not seem like much to some, but for me, it is gratifying. And more so, it is fun.

I look forward to spending time in my garden—something I never thought I would say. My thumbs are greener than they’re even been, and are now simply waiting to pick the first produce of the season.

Starting your garden is that easy, but…

…you have to get over your fears and take action.

I’ve been sharing these simple tips and advice since I started this site in 2009.

You’ve had plenty of opportunity to implement it.

Have you?

Megan did and look at her rewards.

My content contains no fluff. Just simple and to the point gardening advice for beginner’s.

But how about you?

What’s been holding you back?

In the end, starting your own garden and getting over your fears is possible…

…but you have to take action.
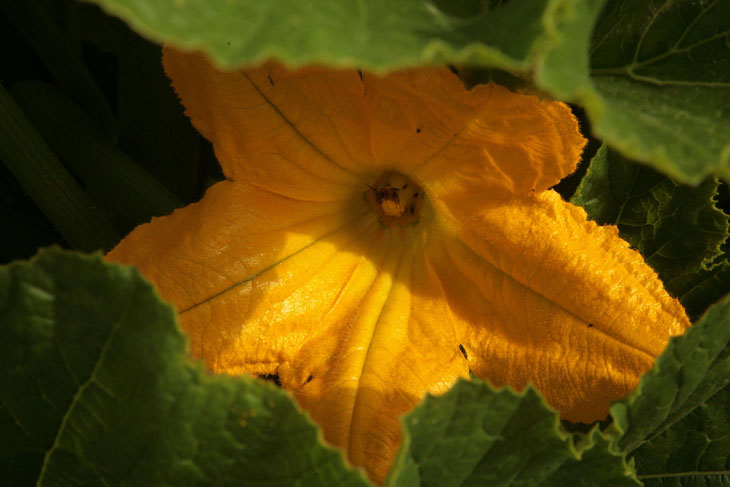
When to Start Planning for Your Fall Garden

Did you not get around to planting your garden this summer?

Or did everything you plant die and you feel like a failure?

Don’t worry. The beauty of gardening is that there is always a next season.

Despite summer just beginning, the time to start preparing for the next season, fall, is right now.

Preparing now for a successful future

When you plant seeds, you do so with the hopes of them sprouting and turning into a meal of yours. You are taking action now believing what the future results will be.

That’s why it’s so important to start preparing and getting ready for your fall garden now. You need to come up with the plan, so when the time comes in a few weeks, you have everything you need ready to go.

Come the fall you will be rewarded by the work you did when you are harvesting those veggies that you planted in the summer.

What you can plan right now

The easiest thing for you to do is to use my Veggie Virgin Formula to figure out what you can plant in the next month or so and start gathering the seeds you’ll need.

If you are buying seeds, check out SeedsNow.com (one of my sponsors) and use the code URBAN10 to get a 10% discount.

Need help and support to start your fall garden?

If you feel too overwhelmed by the thoughts of starting your own fall garden and need some hand holding, then sign-up to learn about Fall Gardening 101 my online training course to get your fall garden started.

Start your preparations for your fall garden now, figure out what you are going to plant and get those wheels in motion.

Your turn

Be sure to sign-up to get more info about Fall Gardening 101 and share this post with friends and family to encourage them to start planning their fall gardens.

Veggie Virgin: Vegetable Planting Guide/Calendar by Zone and Month

You want to start your garden and feel overwhelmed, not knowing what you can grow.

Finding that information in an easy to follow format is damned near impossible.

You need a degree to read the charts, maps and graphs that are out there.

How would you like to know what you can grow in your garden today without the confusion?

The Veggie Virgin Formula

Luckily for you, I have scoured dozens of sites and have put together the “Veggie Virgin Formula.” It’s geared towards people who are starting their vegetable garden or have had troubles in the past.

The Veggie Virgin Formula makes figuring out what to plant in your garden simple.


The Veggie Virgin Formula makes figuring out what to plant in your garden simple. — Tweet This

Follow these 4-steps to know what to plant

Step 1: Figure out your USDA Zone

For those of you outside the US, I didn’t find such a great tool, but did find this link.


Step 2: Download your chart

Based on what hardiness zone you are, download the corresponding chart below:

Each chart is broken down by month and includes what you can plant in that month.

Step 3: Determine your sunlight

To monitor the amount of sunlight throughout the day, start off with a quick sketch of your garden space. Section it off as the day progresses because the surrounding structures will cast shade in certain areas.

Note how many hours of sunlight your space gets during the day and figure out which category it falls into:

You’ll have to do this during each season.

Step 4: Decide what to grow

Now you have the list of veggies that you can grow this month, but you’ll need to narrow it down based on how much sunlight your garden gets. 3 sources to buy your vegetable seeds.

In the theme of keeping this simple, use the basic rule of growing:

“If you grow it for the root or fruit, you need full sun. If you grow it for the leaves, partial shade is all you need.”

Are there exceptions? Of course, but this basic rule makes it easier for you to start.

Why the Veggie Virgin Formula?

This name was used because this is geared towards people who just starting their first garden or don’t have much experience. It removes the stress of figuring it out on your own and eliminates some of that fear of failure because your choices are laid out for you.

Your turn

Use the Veggie Virgin Formula and in the comments below let me know what you are going to plant in your garden.

P.S. If you want even more insanely practical tips like this, stay tuned for my training course to get your fall garden started, which I’ll be unveiling in June.

3 Reasons Your Garden Will Fail This Year

Spring is here… getting lots of messages about starting your first container garden.

You are excited and nervous. And for good reason. You’ve lots to do in the next couple months!

Why your garden will fail

The 3 reasons your garden will fail this year.

  • 1. You want to grow a farmers market in your small space.

You want to grow tomatoes, eggplants, cucumbers, peppers, kale, onions, garlic, strawberries and a billion other things.

A lot of those veggies require a bit more time and energy to grow. I’m not saying it’s impossible to grow them, just that to grow all of them when you are starting out might not be the best idea. You get an A for the enthusiasm, but you are just starting out. Chill out a bit.

Start by buying sampler seed packs only $0.99 cents over at SeedsNow.com. They’re 100% NON-GMO.

Growing your own food is overwhelming to start. So why try to grow a farmers market on your balcony?

Growing your own food is overwhelming to start. So why try to grow a farmers market on your balcony? — Tweet This

Scale it down a bit.

  • 2. You read about companion planting

You read in a gardening book, magazine or on some site that you can increase your yield, protect against bugs and that companion planting was smart to do. Now you wanna cram hundreds of plants into one container.

Companion planting is a good practice to employ, but if you are new to the container gardening game, keep it simple. Why introduce other variables into the equation?

Get one crop in a container down first, then introduce others into the mix.

  • 3. You only get 4 hours of sun, but want to grow tomatoes –>

How did I know this? Because everyone wants to grow tomatoes.

If you want to grow tomatoes and don’t get enough sunlight, you will likely fail. This is why it’s so important to determine the amount of sunlight your space gets and grow what suits those conditions. If you get less than 5 hours, then grow some of these shade loving veggies.

3 sources to buy your vegetable seeds


Don’t set yourself up for failure

One of your big concerns in starting out is making sure that you are doing everything right because you are scared of failing.

That’s why I want you to minimize your failure and avoid those three mistakes. I’m not saying those ideas are and dumb and ridiculous, but to start out…they kind of are.

Your turn

I know that you were planning one of these mistakes to start this year. In the comments below, ‘fess up and let me know which one you had planned and will be avoiding.

Best Container Vegetables to Grow in the Shade

You’ve scoped out your garden space…

…and determined how much direct sunlight it gets.

Your garden gets less than 6 hours and you feel hopeless.

Sorry to break it to you, but that means you can’t grow tomatoes.

Don’t worry there are other vegetables you can successfully grow in that space.

Shade loving vegetables

The following vegetables will do just well in containers and the shade:

The following vegetables will grow in small/medium sized containers  — and —  they like being in the shade. – – Tweet This

Helping you to succeed in your garden

The purpose of this list is to serve as a guide in helping you to minimize the mistakes you make and set you up for success in your garden.

If you want to, experiment in your garden. See if other vegetables do well in the shade. No one will get hurt if you do.

[vimeo clip_id=”39164990″ title=”0″ byline=”0″ portrait=”0″ width=”525″ height=”393″]

Your turn

Share this post with those in your life that use the excuse of not getting enough sunlight to start growing their own food.

Once you do that, then leave a comment below to let me know which of these shade loving veggies you plan on growing.

Photo courtesy of Public Domain Photos on Flickr.

How Many Plants Per Container?

You are getting ready to start your seeds.

Or you might be making your wish list of seeds to buy… 3 sources to buy your vegetable seeds.

…but you’re not sure how many can fit into a container.

That’s exactly what some of you told me that you were going through.

You don’t want to have a tray filled with 30 nicely labeled kale seedlings and only three containers to put them in.

That would be a waste of your time and money.

To help you out, I created a simple to follow chart.

Know how many plants per container

From the survey you filled out a few weeks ago, I took the vegetables that you said you wanted to grow and noted approximately how many of that plant can fit into a 12″ container.

Download the chart (pdf).

Now you can know how many seeds to start or plants to buy in seconds.

I chose 12″ because that’s the same size as the 5-gallon containers used to make self-watering containers.

This doesn’t necessarily mean the highest yield, it’s just the approximate amount of plants per container.


Your Turn

Did this information change how many plants you planned on having? After you downloaded the chart, in the comments below let me know how many containers you will have in this year and what you will grow in them.

Photo courtesy of MissMessie on Flickr.

Advice for Successfully Starting Vegetable Seeds at Home

By Michelle Moore
Owner of The Greenhouse Catalog

There is nothing like new life in spring…

…and starting seeds is one of the best ways to enjoy the start of the season.

Unlike transplants, seedlings are fragile and require newborn-like attention:

The right media, temperature, light, water and food.

To a new gardener, meeting these needs may seem like a challenge.

But with a little knowledge and the right equipment, success is easy and just a few short days or weeks away.

With a little knowledge and the right equipment, seed starting success is easy. — Tweet This

Note–before you even start

It is important to select the right seeds. There is nothing wrong with planting seeds that are more than a year old, but if you are trying seed starting for the first time and need a confidence boost—stick to current year seeds for the best germination rate.

What You’ll Need for Seed Starting Success

Media: The best seed-starting media holds moisture and air. Seedlings need to stay moist, but not wet, and need to have plenty of aeration. You can purchase specially formulated seed starting mix, use coco-pith, or a number of seed starting cubes for the best results.

Temperature: Seeds need warmth, so don’t put your seed trays in a drafty area. Add bottom heat for even better and faster roots to development. Seedling heat mats are an excellent investment.

Light: Most seedlings germinate best in light. A sunny window may be enough light, but the addition of a small grow light can make a tremendous difference in a healthy start. Plants receiving too little or too much light tend to get leggy and don’t make for the best transplants. T-5 or LED grow lights are extremely energy efficient and do not take up much space. They also don’t create a lot of heat, so seedlings won’t dry out as quickly.

Water: Seedlings dry out quickly, so it’s easy to overwater them. The best methods include frequent but gentle misting, or bottom watering. We love the Smart Float tray. It provides an excellent media and the sturdy Styrofoam base floats on the water, so seedlings are never over or under watered. Additionally, the Styrofoam insulates tender seedlings and the white base reflects lights back to plants.

Feeding: Once plants have their second set of leaves, they are ready for food (generally within 72 hours of spouting). A high-quality organic fertilizer, diluted to ¼ strength for the first feeding, works well. Continue feeding at ½ strength until seedlings are ready to transplant.

Happy planting and be sure to check all of the seed starting supplies at The Greenhouse Catalog.

About Michelle Moore

Michelle Moore is the owner of the Greenhouse Catalog where she has worked with greenhouses for 20 years. Michelle writes and lectures about greenhouse gardening as an Oregon State University Master Gardener and member of Garden Writers Association. Michelle and her husband live in Oregon, but they enjoy hints of summer all year in their greenhouse! Become a Greenhouse Catalog fan on Facebook to get year-round gardening tips and advice.

Your Turn

Share this post with your friends and family to help them successfully start their seeds this year.

Photo courtesy of janeyhenning on Flickr

How to Select the Best Grow Light for Indoor Growing

Michelle Moore

Not all light is the same.

Plants respond differently to different colors of light.

Light on either end of the spectrum, blue light or red light, have the greatest impact on photosynthesis.

Kinds of Light

Blue light, referred to as cool light, encourages compact bushy growth.

Red light, on the opposite end of the spectrum, triggers a hormone response which creates blooms.

Grow lights producing the orange and reddish light typically produce substantial heat, however, some lights are able to produce full spectrum light without the heat.

Grow lights come in all shapes, sizes and price ranges.

As a general rule, inexpensive lights to purchase tend to be the most expensive to operate and the least effective. While price is not necessarily an indicator of performance, many of the efficient grow lights require ballasts as well as specialized fixtures.

Image of vegetable being grown indoors under artificial light is via fortikur.com.

Check out SeedsNow.com if you’re looking to grow organic vegetable and herbs from seed.

Click here to read more about what GMOs are. It’s really easy for you to grow all kinds of vegetables, herbs, and sprouts inside.  All year long!  Invest in a grow light and you’ll be happy.

Basic Types of Grow Lights

These lights run the gamut of performance and price range.

Incandescent Lights.

The least expensive lights to purchase cost around $30. These incandescent lights work well for specific plants where the light is placed a minimum of 24” from the plant. These lights get extremely hot so they must be used with care. Spot grow bulbs, color corrected incandescent lights, install easily and are good for use with a specific plant or a small grouping of plants. Most spot incandescent bulbs last less than 1,000 hours. Some light fixtures come with a clip handle so you can put them exactly where they’re needed.

Fluorescent Grow Lights.

They are a common choice for homeowners. Fluorescent lights are reasonably energy efficient and relatively easy to install. A typical fluorescent bulb will last approximately 20,000 hours. Fluorescent light is typically on the blue end of the spectrum. Blue light encourages bushy compact growth which makes them perfect for seed starting. Blue light is also cool to the touch making it possible to place lights within just a few inches of the seedlings.

New Full-Spectrum Fluorescent Lights.

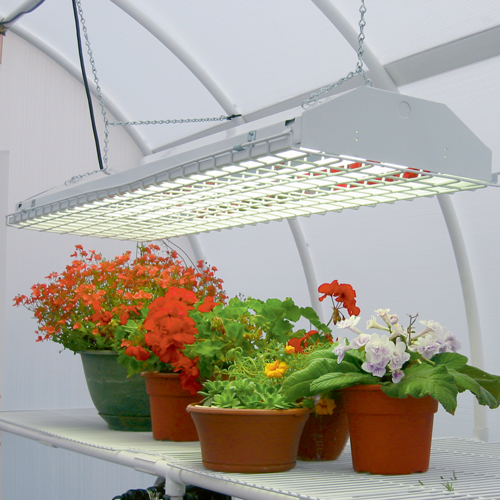
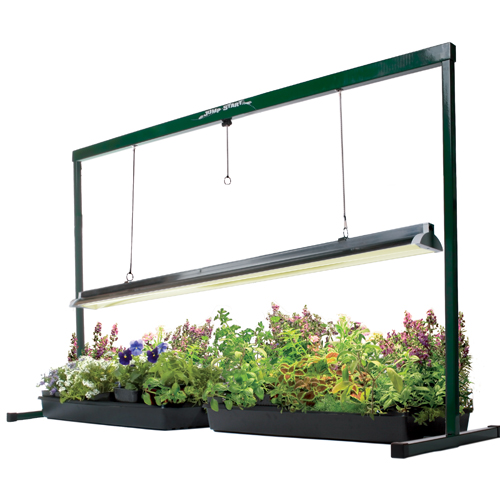
Provide the red spectrum as well to encourage blooming.

Combining the lights in a fixture makes for even, all around growth.

The next generation in fluorescent lighting includes the new T-5 lights.

These new lights have extremely high output but are energy efficient and long lasting.

The T-5 lights triple the light output of normal fluorescent lights without increasing the wattage. Plants absorb a high percentage of T-5 lighting because the fixtures function well very close to plants. High output bulbs require a high output fixture to operate, so the bulbs and normal fluorescent fixtures will not work together.

LED Lights

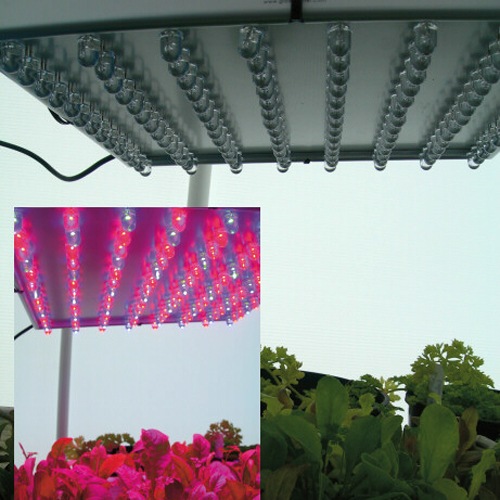
The newest type of grow lights use LED technology.

One major advantage to the LED lights is the small size.

LED lights are only a few inches in diameter and are easy to mount.

In some greenhouses, LED lights may be the only practical light option.

Hanging most grow lights requires a strong greenhouse structure and a place to hang the lights.

LED lights weigh a fraction of other lights and are easy to configure where needed. According to LED manufacturers, LED grow lights maximize blue and red light to provide and excellent balance for plants.

They do not have much green-yellow light. Since humans see green-yellow light best LED grow lights appear dim to our eyes. This is an exciting new technology that will be interesting to watch as it develops.

The Best Grow Light Option

Now that I’ve given you a good rundown on greenhouse lighting options, it’s also important to mention darkness.

Almost all plants benefit from a period of six hours or more of darkness.

It’s a good idea to know how much light your plants need, but unlike commercial growers, hobbyists often have a wide variety of plants so they need to take a broad approach to lighting.

Fluorescent lights offer excellent overall lighting options.

Other Considerations

If you chose to use any type of fluorescent lighting, you will need to account for plant growth.

Fluorescent lights perform best when positioned very close to plants.

As plants grow into the light, it is important to raise the fixture.

Generally only the plants touching the lights will burn, but be prepared because they grow quickly.

Adjustable hangers are a good solution. These hangers move easily allowing you to make quick adjustments.

If you’re looking for non-gmo seeds that grow well using hydroponic systems, click here.

Your Turn

Are you currently using grow lights to grow indoors? What kind? What are you growing?

Do you plan on growing indoors using grow lights?

Let me know in the comments below.

How to Grow Your Own Sprouts Indoors

Today I am going to show you the easiest way that you can start to grow your own food.

And you won’t need any outdoor space…

You just need a spot on your kitchen counter.

I am going to share with you how to grow your own sprouts indoors.

No need to buy fancy gadgets or machines. You can do this on the cheap.

You ready?

Let’s do it!

What you’ll need to grow your sprouts

  • Mason jar
  • Cheescloth or another breathable cloth
  • Canning lid or rubber band
  • Bowl or dish

Steps to grow your own sprouts

  • The first thing to do is to soak the seeds for 8 hours in the mason jar. I prefer to do this right before I go to bed to let them soak overnight.
  • The next morning, put the cheesecloth over the mouth of the jar and secure it with the canning lid. Drain out the water. Refill with water to rinse the seeds and drain again. Place the jar out of direct sunlight at an angle in a bowl. This will allow the rest of the water to drain.
  • Repeat the previous step every 8-12 hours (about 2 times per day).
  • Generally it’ll take 5-7 days for them to be ready to eat. The seeds are ready to eat as soon as they start to sprout. Just rinse and drain them one last time before you store them in the fridge.

Sound off

What is your favorite sprout?

How to Make a Seed Watering Pot

Do you have problems watering your seeds?

Not sure the best way to water them?

I’ve had this problem too.

That’s why I am happy that I came across this DIY project on FunInTheMaking.net that I can share with you.

It’s DIY seed watering pot and it will help you to easily water your seeds without having the impact of the water harming them.

What you’ll need

  • Plastic jug of some kind – I used a milk container, but you can use a maple syrup container or something similar.
  • Drill and a 1/16″ drill bit or whatever size you find appropriate.

Make it in two simple steps by drilling

  • A hole in the cap.
  • Several holes in the bottom of the jug.

[vimeo clip_id=”36255737″ title=”0″ byline=”0″ portrait=”0″ width=”525″ height=”393″]

To use your seed watering pot

  • Fill a bowl or dish with water.
  • Place your thumb over the hole in the cap and submerge it in the water.
  • Remove your thumb and you’ll feel the water being sucked up into the pot.
  • Remove the pot from the water with your thumb over the hole.
  • To water your seeds, put the watering pot over the seeds and remove your thumb.
  • A gentle flow of water should come out from the bottom.
  • To stop the flow, place your thumb back on the cap.

[flickrset id=”72157629149521591″ thumbnail=”square” photos=”” overlay=”true” size=”medium”]

This is a much gentler way to water your seedlings and not damage them.

Sound off

How do you water your seedlings?