 Spring is here… getting lots of messages about starting your first container garden.
You are excited and nervous. And for good reason. You’ve lots to do in the next couple months!
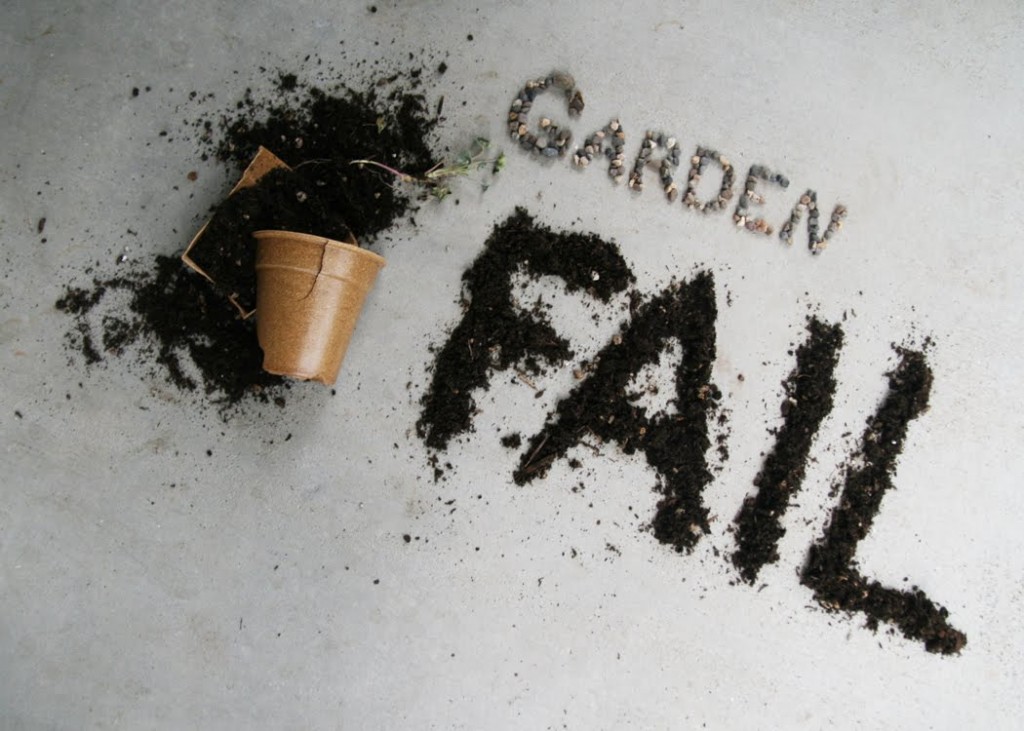
Why your garden will fail
The 3 reasons your garden will fail this year.
- 1. You want to grow a farmers market in your small space.
You want to grow tomatoes, eggplants, cucumbers, peppers, kale, onions, garlic, strawberries and a billion other things.
A lot of those veggies require a bit more time and energy to grow. I’m not saying it’s impossible to grow them, just that to grow all of them when you are starting out might not be the best idea. You get an A for the enthusiasm, but you are just starting out. Chill out a bit.
Start by buying sampler seed packs only $0.99 cents over at SeedsNow.com. They’re 100% NON-GMO.
Growing your own food is overwhelming to start. So why try to grow a farmers market on your balcony?
Growing your own food is overwhelming to start. So why try to grow a farmers market on your balcony? — Tweet This
Scale it down a bit.
- 2. You read about companion planting
You read in a gardening book, magazine or on some site that you can increase your yield, protect against bugs and that companion planting was smart to do. Now you wanna cram hundreds of plants into one container.
Companion planting is a good practice to employ, but if you are new to the container gardening game, keep it simple. Why introduce other variables into the equation?
Get one crop in a container down first, then introduce others into the mix.
- 3. You only get 4 hours of sun, but want to grow tomatoes –>
How did I know this? Because everyone wants to grow tomatoes.
If you want to grow tomatoes and don’t get enough sunlight, you will likely fail. This is why it’s so important to determine the amount of sunlight your space gets and grow what suits those conditions. If you get less than 5 hours, then grow some of these shade loving veggies.
3 sources to buy your vegetable seeds
Don’t set yourself up for failure
One of your big concerns in starting out is making sure that you are doing everything right because you are scared of failing.
That’s why I want you to minimize your failure and avoid those three mistakes. I’m not saying those ideas are and dumb and ridiculous, but to start out…they kind of are.
Your turn
I know that you were planning one of these mistakes to start this year. In the comments below, ‘fess up and let me know which one you had planned and will be avoiding.
 You want to start container gardening, but there is one thing that’s stopping you?
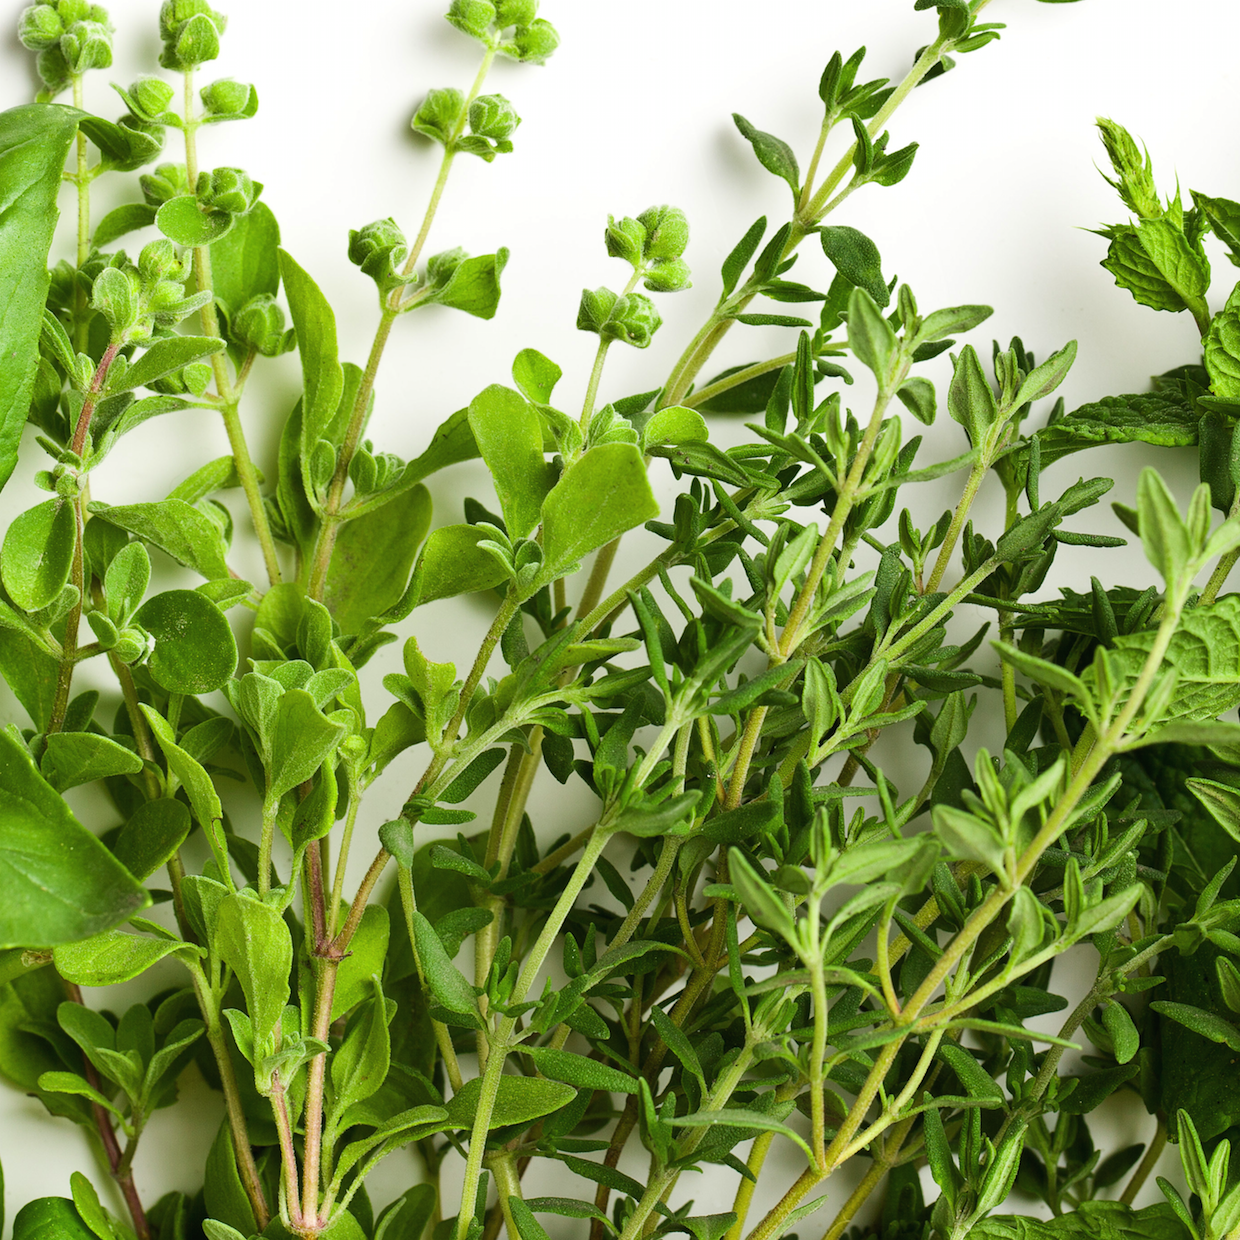
 You were all happy to start your herb garden.
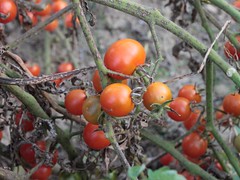 You’ve
 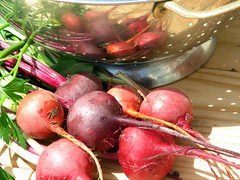 We’ve talked about
  You are getting ready to