Making Potting Soil

In a previous post, I explained the basic differences between coconut coir and peat moss based potting soils. Now I am going to show you how to make your own potting soil using a peat moss base.

Here’s what you need to make your own organic potting soil:

  • Sphagnum peat moss – holds water and air; provides little nutriton
  • Vermiculite – provides minerals (potassium, calcium and magnesium)
  • Garden lime – provides minerals (calcium) and balances acidity of peat moss
  • Compost – provides the lion share of the nutrition to the plants
  • Large bin to mix it all in. Watch the video and you’ll know why you’ll need to use a large bin.
  • To mix it:

  • Add the mixture at a close 1:1:1 ratio of the peat moss: vermiculite: garden lime. You definitely want peat moss to be the dominant ingredient. Mix well.
  • Now that you have the peat moss mixture, add an equal part of compost. Mix well.
  • Add some water to dampen the mixture. Don’t want to saturate it. Mix well.
  • httpv://www.youtube.com/watch?v=4nbTWGoxJjs

    Five Things I Learned About Planting Vegetables

    This whole experience is all new to me, especially the part about actually planting. Here’s five things I learned about how to plant vegetables in a self watering container:

    Be gentle. Pop the vegetable out of it’s cell. Push it from the bottom and gently pull out.

    There are many plants in a cell. A lot of the cells contain multiple plants, so you have to thumb around the soil line to see the separation of the plants.

    Pry apart with thumbs. Use your thumb to gently pry them apart. You’ll wind up breaking up some of the roots, but don’t worry. Be gentle.

    Plant deep enough to secure plant in soil. Once the plants are separated, dig a hole about 3-4 inches in the soil (depending on the plant) and insert the plant.

    Support plant with soil Cover it with soil and make it compact to support the plant.

    Check this video on how to plant celery in self watering containers.

    httpv://www.youtube.com/watch?v=6LrCc31i_OU

    Checking in on the Gardens One Week Later

    It’s one full week since I’ve planted my vegetable gardens on my fire escape and in Brooklyn. Here’s an update on how things are progressing.

    Before I do that, I wanted to let you know that I decided not to garden at my parents in Staten Island and to move those containers to Brooklyn. Logistically, it makes more sense that way.

    My Fire Escape Vegetable Garden

    • The tomato plant started to bloom a bit and was picked. It was picked so that the plant can focus on growing as opposed to blooming at this point.
    • The pepper plant also started to bloom
    • The herbs in the upside down planters, especially the parsley and basil did not look so good. Need to take another look at what was done to remedy for next time.

    My Brooklyn Vegetable Garden
    httpv://www.youtube.com/watch?v=nK78ClpiIp4

    • For the most part the plants looked good.
    • The cucumber looked pathetic. Watered it from above to try and wake it up.
    • It looks like there was some kind of critter that was digging in the containers, but didn’t harm any of the vegetables, yet.
    • The celery and greens look to be very productive.
    • The nasturtium has started to bloom.

    Fire Escape Garden - Anna aasa tomato plant started to flower, so I picked it off. Saturday, May 30, 2009.Fire Escape Garden - The pepper plant started to flower and was picked as well. Saturday, May 30, 2009.Fire Escape Garden - The parsley definitely looks like it's hurting. Saturday, May 30, 2009.Fire Escape Garden - The basil pretty much looks like a lossed cause. Saturday, May 30, 2009Brooklyn Garden - The onions look ok, but it looks like something was digging. Sunday, May 31, 2009.Brooklyn Garden - The cucumber plant looks pathetic. I watered it from the top to wake it up a bit. Sunday, May 31, 2009.Brooklyn Garden - The celery has seen some good growth in the past week. Sunday, May 31, 2009.Brooklyn Garden - One of the buckets of greens is looking productive. Sunday, May 31, 2009.Brooklyn Garden - The Nasturtium has already started to bloom. Sunday, May 31, 2009.

    Starting My Second Batch of Compost

    After using all of the indoor compost to plant on my fire escape, I started a second batch.

    This went much smoother and I expect it to continue that way. Here are some of the lessons that I learned from my first go around:

  • Don’t put too many greens in the compost
  • When putting in the newspaper make sure it’s not in chunks. Separate the pieces.
  • Don’t fill it up too much. It’ll make turning a chore
  • With that in mind, I set up my indoor kitchen compost.

  • Put down a layer of newspaper.
  • Topped it with some soil.
  • Covered it with a small layer of greens and dehydrated cow manure.
  • Topped it off with another layer of newspaper and soil
  • Keeping the fingers crossed that there will be no odor.

    Potting Mix or Potting Soil? Peat Moss or Coconut Coir?

    First off, from what I can tell there is no difference between potting soil, potting mix and transplant mix. It’s all the same thing just different names.

    The reason that you want to use potting soil is that it allows for aeration and water to flow. If you use traditional soil in a self watering container, the roots would get too compact and not be able to grow. That’s no bueno.

    Of course it isn’t that simple, there are different kinds of potting soil. There is one that is peat moss based and one that is coconut coir based.

    Not being sure which to use, I decided to use both. Screw it why not? That’s part of this whole experience. Trial and error to find out for myself what works best.

    Besides the base, the other ingredients are pretty similar. They are vermiculite, compost and some kind of mineralization.

    The vermiculite makes the mix lighter and allows for better aeration. The compost provides the nutrients and the minerals, well they provide minerals.

    httpv://www.youtube.com/watch?v=D6y_gpetMkQ

    So I bought some 20lb bags of New York Paydirt Potting Soil from the local Lower East Side Ecology Center.

    This is coconut coir based, which according to the label is “a sustainable alternative to peat moss.” From some of the articles that I read coconut coir retains water, which is bad for self watering containers. I guess I’ll find out.

    I also bought ingredients to make my own organic potting soil – sphagnum peat moss, vermiculite and garden lime. This was mixed up with the compost that I made in my kitchen.

    So instead of reading 100 different arguments on which kind of soil to use, I’ll use both and see which one works best and so will you.

    Vegetable Gardening – Brooklyn Style

    After two long, but fun, days and some rain I set up my vegetable garden in my grandmother’s backyard in Brooklyn this past weekend. All said and done I planted in 16 containers and 5 herb planters.

    The vegetables I planted were – buttercrunch lettuce, cabbage, cauliflower, celery, collard greens, crisphead lettuce, cucumbers, escarole, onions, radicchio, romaine lettuce, sorrel, stinging nettles, swiss chard, sweet red pepper and wild leaf lettuce.

    The herbs that were basil, chocolate mint, dill, oregano, parsley, rosemary, sage, spearmint,thyme, zataar and nasturtium (which is an edible flower).

    Here’s a quick video of the garden:
    httpv://www.youtube.com/watch?v=oh4lhCTToiU

    My Fire Escape Vegetable Garden

    I set up my vegetable garden on my fire escape this afternoon with 3 buckets and 5 upside down herb planters.

    One bucket has Mottistone Crisphead lettuce, Parris Island Romaine lettuce and Anna Aasa tomato. Another has Mottistone lettuce, Parris Island Romaine lettuce and Buttercrunch. The third bucket has Jimmy Nardello’s sweet pepper and Chile Releno.

    The herbs that I planted were parsley, basil, sage, oregano and dill.

    Check this video tour of the set-up:
    httpv://www.youtube.com/watch?v=ST5rQAt5-_0

    Completing the Self Watering Containers at My Parents

    After getting the news yesterday that the vegetable gardening season already started and some plants should already be out, I need to get moving quicker.

    I went out to visit the ‘rents place today in Staten Island to make all of the self-watering containers at their crib.

    All of the materials were there, so it was just a matter of putting everything together. At their spot, I have am going to have two containers and two buckets set up. Each container took about a half hour to put together regardless of the size.

    There are two 30 quart containers that are about 17X12X11. In those I built room for a 3-4 quart water reservoir.

    Also going made two buckets a five gallon that’s about 15″ diameter and 14″ height. I built about a 1.5 gallon reservoir in that. The other bucket is a little taller at 15″, but it’s more square shape. The reservoir holds about 3-4 quarts of water.

    Each of the containers was marked at the bottom with the reservoir size, so I know for the future.

    The biggest challenge is still cutting out the circles, but it’s getting somewhat easier. Cutting the circle around the pipe was a bit of chore. I am hoping that duct tape will sure things up.

    At this point I have two concerns. The first is the level of the water reservoirs. Are they too much? Not enough? I have most of them measured off at about one gallon. That’s all part of this project though, documenting and learning for the next time.

    The other concern is that the wicking containers and vinyl tiles will be able to handle the weight of the soil. I am thinking there will be some leakage of the soil into the water, but the soil won’t be as heavy because it won’t be water logged.

    It’s the Season for Vegetable Gardening

    I took a trip to the Farmers Market at Union Square today to find out when it’s ok to start putting the containers out and how many plants go in each bucket.

    Yes, it would make sense if I had all of the containers and buckets ready, but I have just about zero complete. Still want to know how much of and what can be grown.

    Went straight to the Silver Heights Farm stand and spoke to Trina, who was helpful.

    Much to my shock she told me that it is the season for vegetable gardening. The containers should be out now because there are some vegetables that don’t stand the heat. That puts me behind a little bit then huh?

    So now I need to truck ahead and build all of these containers. Oh yea, I also need to figure out what I am going to grow where. She said that I can email her any questions that I may have about what can grow in the containers once I have decided.

    Now I need to decide.

    Video: The Compost is Saved

    It’s been two days since I attempted to get rid of the smell of the indoor compost pile.

    httpv://www.youtube.com/watch?v=bsxvgPNor-w

    There is no more leakage out of the bottom and the smell gone. The takeaway from this is not to take it easy on the food scraps.

    Now I can take that and use it when building and maintaining my home composting bins at my parents and grandmothers. They’d be less willing to deal with the smell than my roommate.

    Composting Mistake: Too Many Greens

    On Tuesday when I turned the compost all was well and there was no smell. Two days later not so much. It stank and it stank bad.

    The batteries on my video camera died, so there is no video, but that has nothing to do with the smell. I had a feeling that the last pile of composting greens were too much. Just got too over zealous.

    Instead of scrapping the bin all together, I am attempting to remedy the situation. The bin was leaking through the holes in the bottom and the smell was awful.

    My plan was to remove a lot of what was in the bin and replace it with browns to soak up the moisture and get rid of the smell. I shoveled the existing compost into two of the buckets and mixed them around. It was packed pretty tight in there and took about 20 minutes to get all of the stank compost out.

    Once I got it all out and separated into three buckets, I mixed them around much like would be done in an outdoor composting bin. A fresh bed of newspaper shreds and soil was layered on the bottom, topped with a small layer of the existing compost.

    Did this for about three or four layers. I wound up taking about two full three gallon garbage bags out of my compost bin and brought it to my local composting garden.

    I’ll give this a few days to see if that awful smell subsides. Another lesson learned, don’t put too much food into the compost bin. Especially when that bin is in your kitchen. Have I mentioned the smell?

    Video: Turning the Compost

    It’s been a about a week since the last layer of food scraps were added to my < a href="/category/composting/indoor/">indoor compost bin, so I figured it was time to give it a turn.

    To turn it I use a broomstick to poke around and loosen everything up, then I take a small shovel to mix it. It’s been taking me about 10 minutes each time I turn it.

    httpv://www.youtube.com/watch?v=TwyFFpE-yYg

    It’s pretty full at this point. The last batch that I put on was a lot on top of what was already there, but no smell and nothing seems to be going wrong. It just takes a while to turn it because there isn’t much space and everything is packed in there pretty tightly. It’s a lot of poking, then turning, poking and turning – a bit of work, but didn’t get me out of breath like cutting the pipe.

    I’ve been turning it about once week. This week no new food was added because it was a bit damp. After it was turned a new layer of browns (newspaper and potting mix) were added.

    Hoping it’s going to be ready soon because I plan on getting things growing soon.

    Video: Cutting Copper Pipe for the Self Watering Containers

    After days of back and forth, I decided to go with copper pipe instead of the vinyl tubing in the self watering containers. Wasn’t very clear on the benefits of one over the other because read lots of pros and cons on each of them.

    For using copper pipe, came across a few articles that spoke about leaching into water.

    Came across the same articles for vinyl tubing.

    Since I was going with the vinyl tiles for the insert, I felt better about choosing the copper pipe.

    httpv://www.youtube.com/watch?v=vxXZ1vMyFdI

    In shopping around for the pipe, the ranges varied greatly from $25 to $65 for uncut L copper pipe. The handyman at the hardware store said it was better suited for water.

    I bought two ten foot pieces and tied them on top of my grandmothers car. Yes, I tied them. The back seats in her car don’t go down. Not sure how, but the pipes and I made it back safely. Then I went to town and cut up the pipe.

      Tools required

    • Hacksaw
    • Marker
    • Glove (I’d recommend a vice instead)
    • Table
    • Tape measure
      Materials required

    • Copper pipe

    Each of the buckets are about 13 inches, so the first pipe I marked off every 15 inches to cut off. The other pipe, I marked at about 20 inches.

    The first lesson that I learned was to make sure that the hacksaw is tightened. If not, it’ll pop off.

    Now I need to ration out the cut pipe to my apartment and grandmothers. Still need to figure out what I’m going to grow and where. There is that looming.

    Recycling and Making a Cheap Vegetable Garden


    Attribution-NonCommercial-ShareAlike License by jamieleto

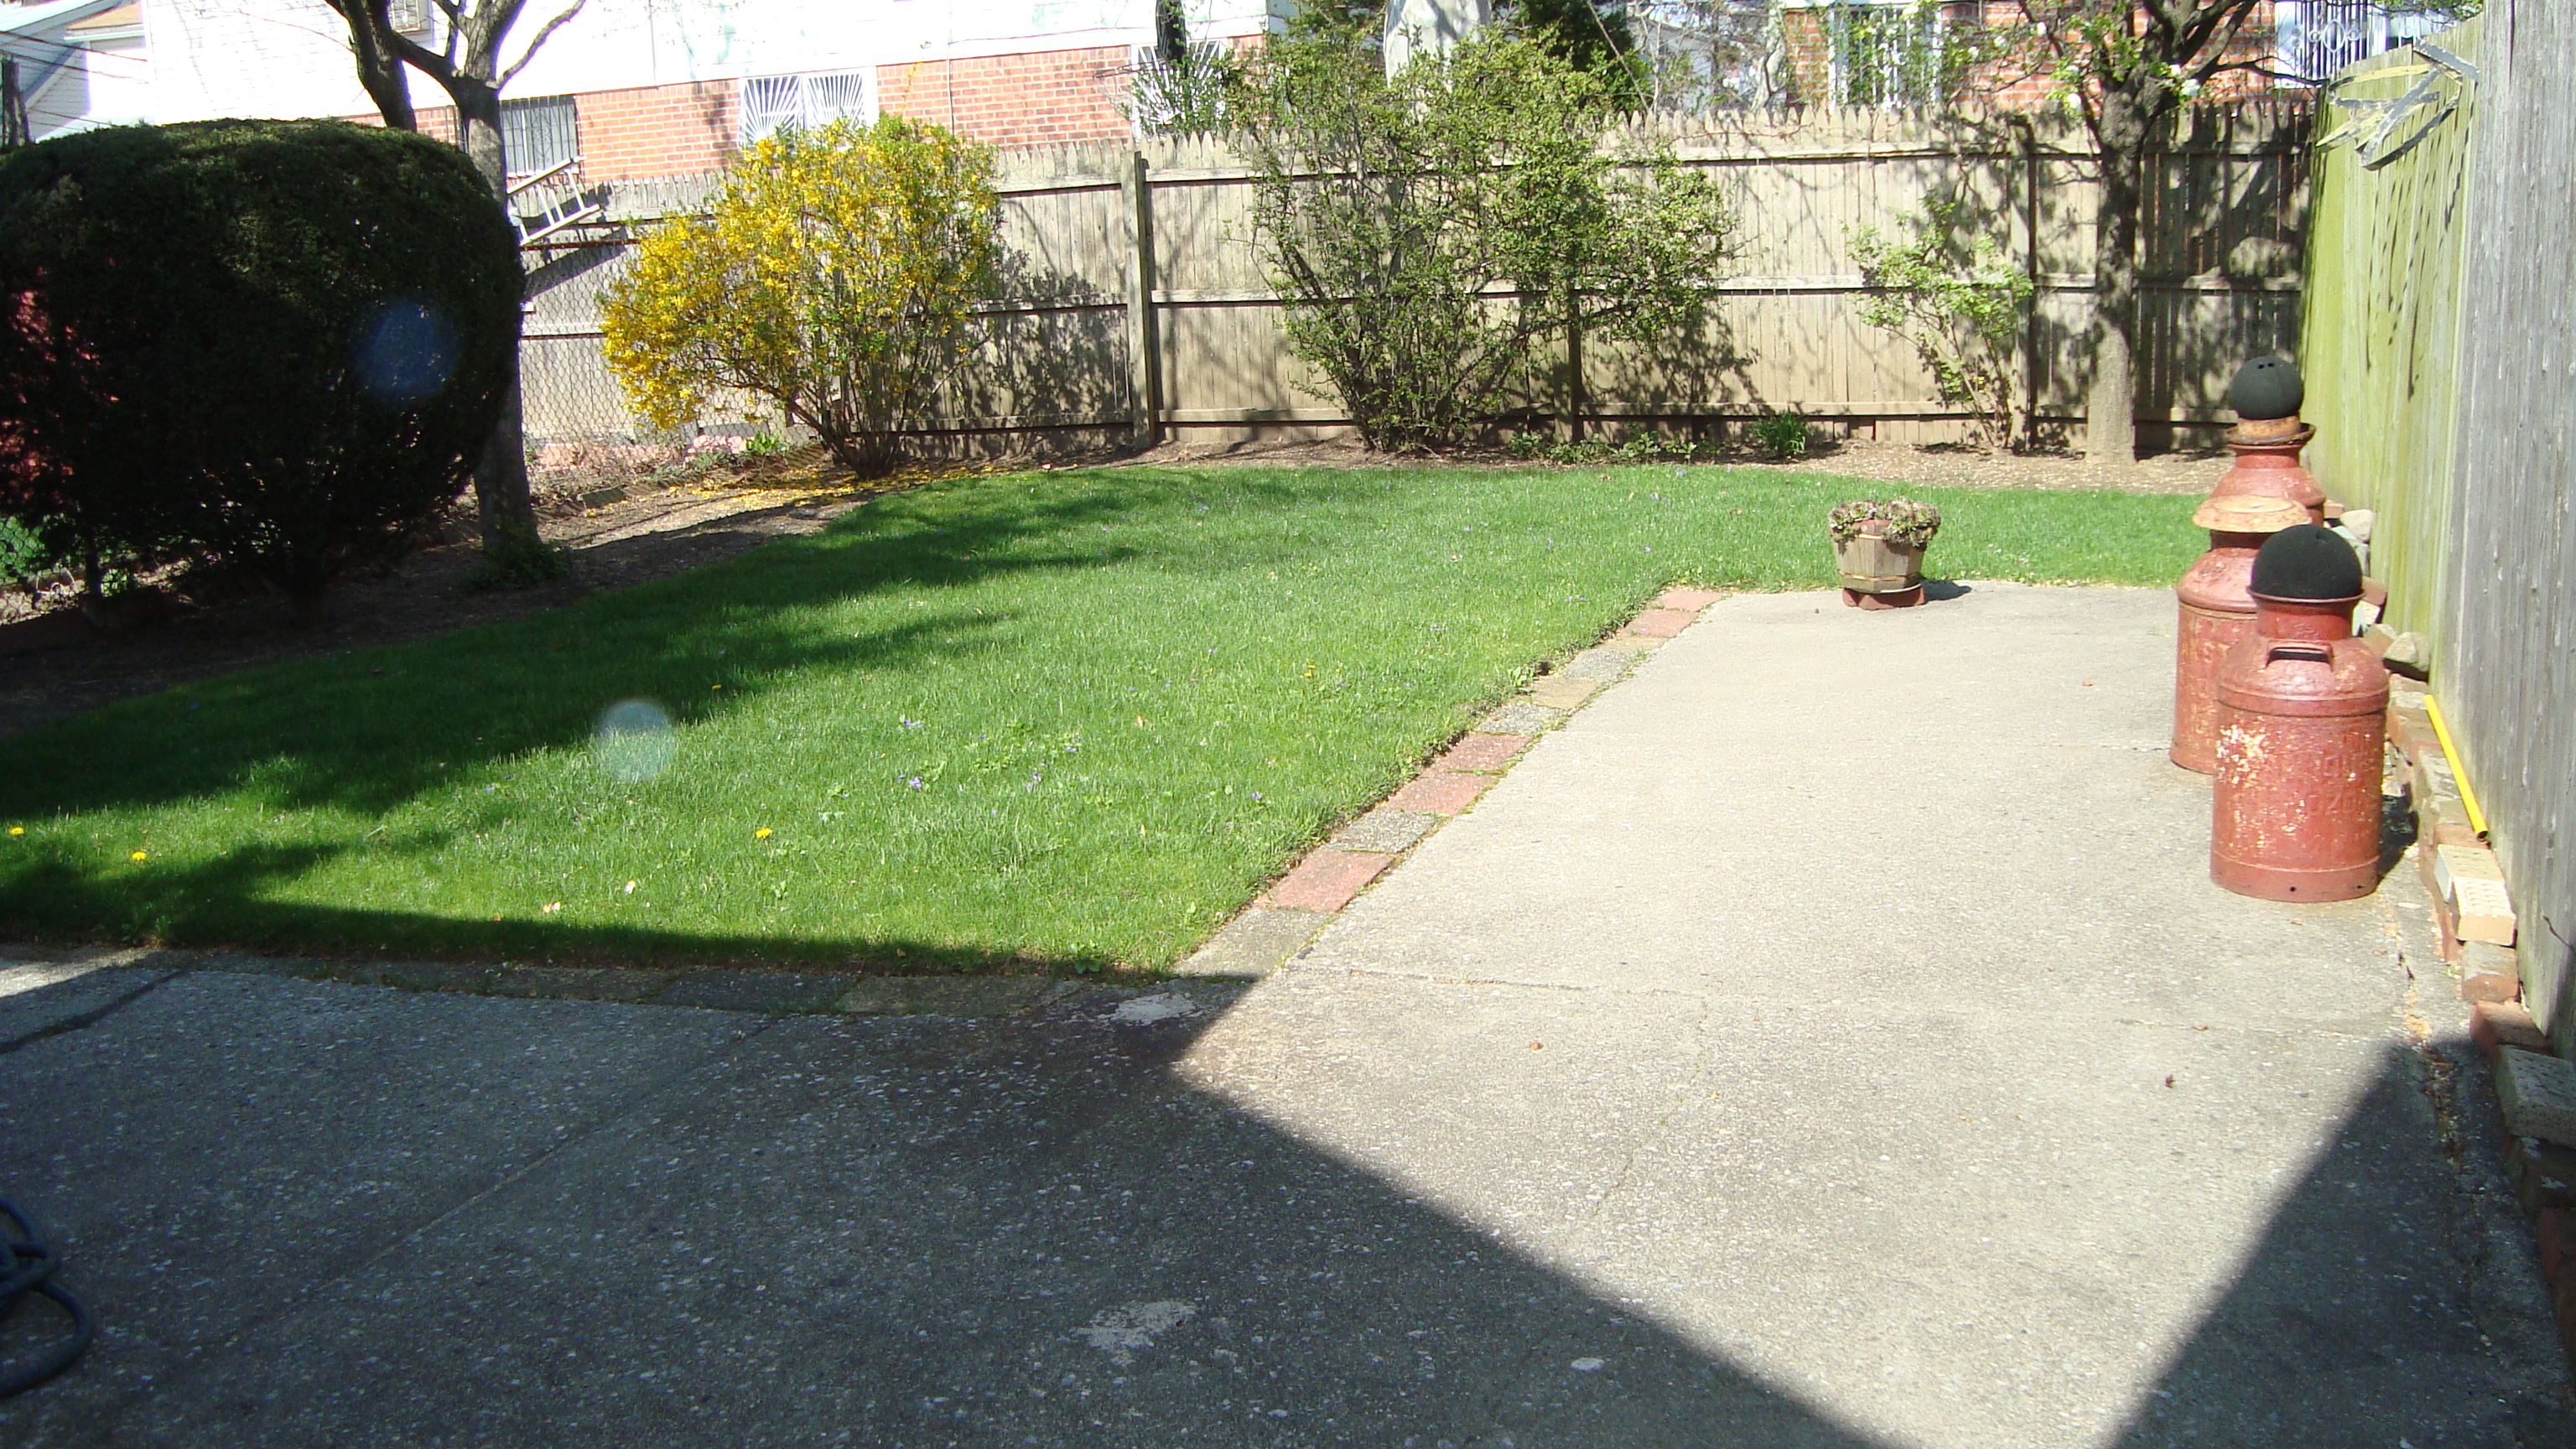
    After securing the garden space in Staten Island and sleeping on it the past few days, I came up with a plan to make this more affordable and environmentally friendly.

    I did as much research as I could into what would be the most affordable, environmentally sound and healthy way to do this project.

    The first thing that I looked into was which plastics are food safe and environmentally safe? The numbers on the bottom of the containers surely mean something. Sure enough they do.

    Then came across another site, which spoke about which plastic water bottles don’t leach chemicals.

    So now I have a better idea on the quality and grade of the plastics that I’ll be recycling and using.

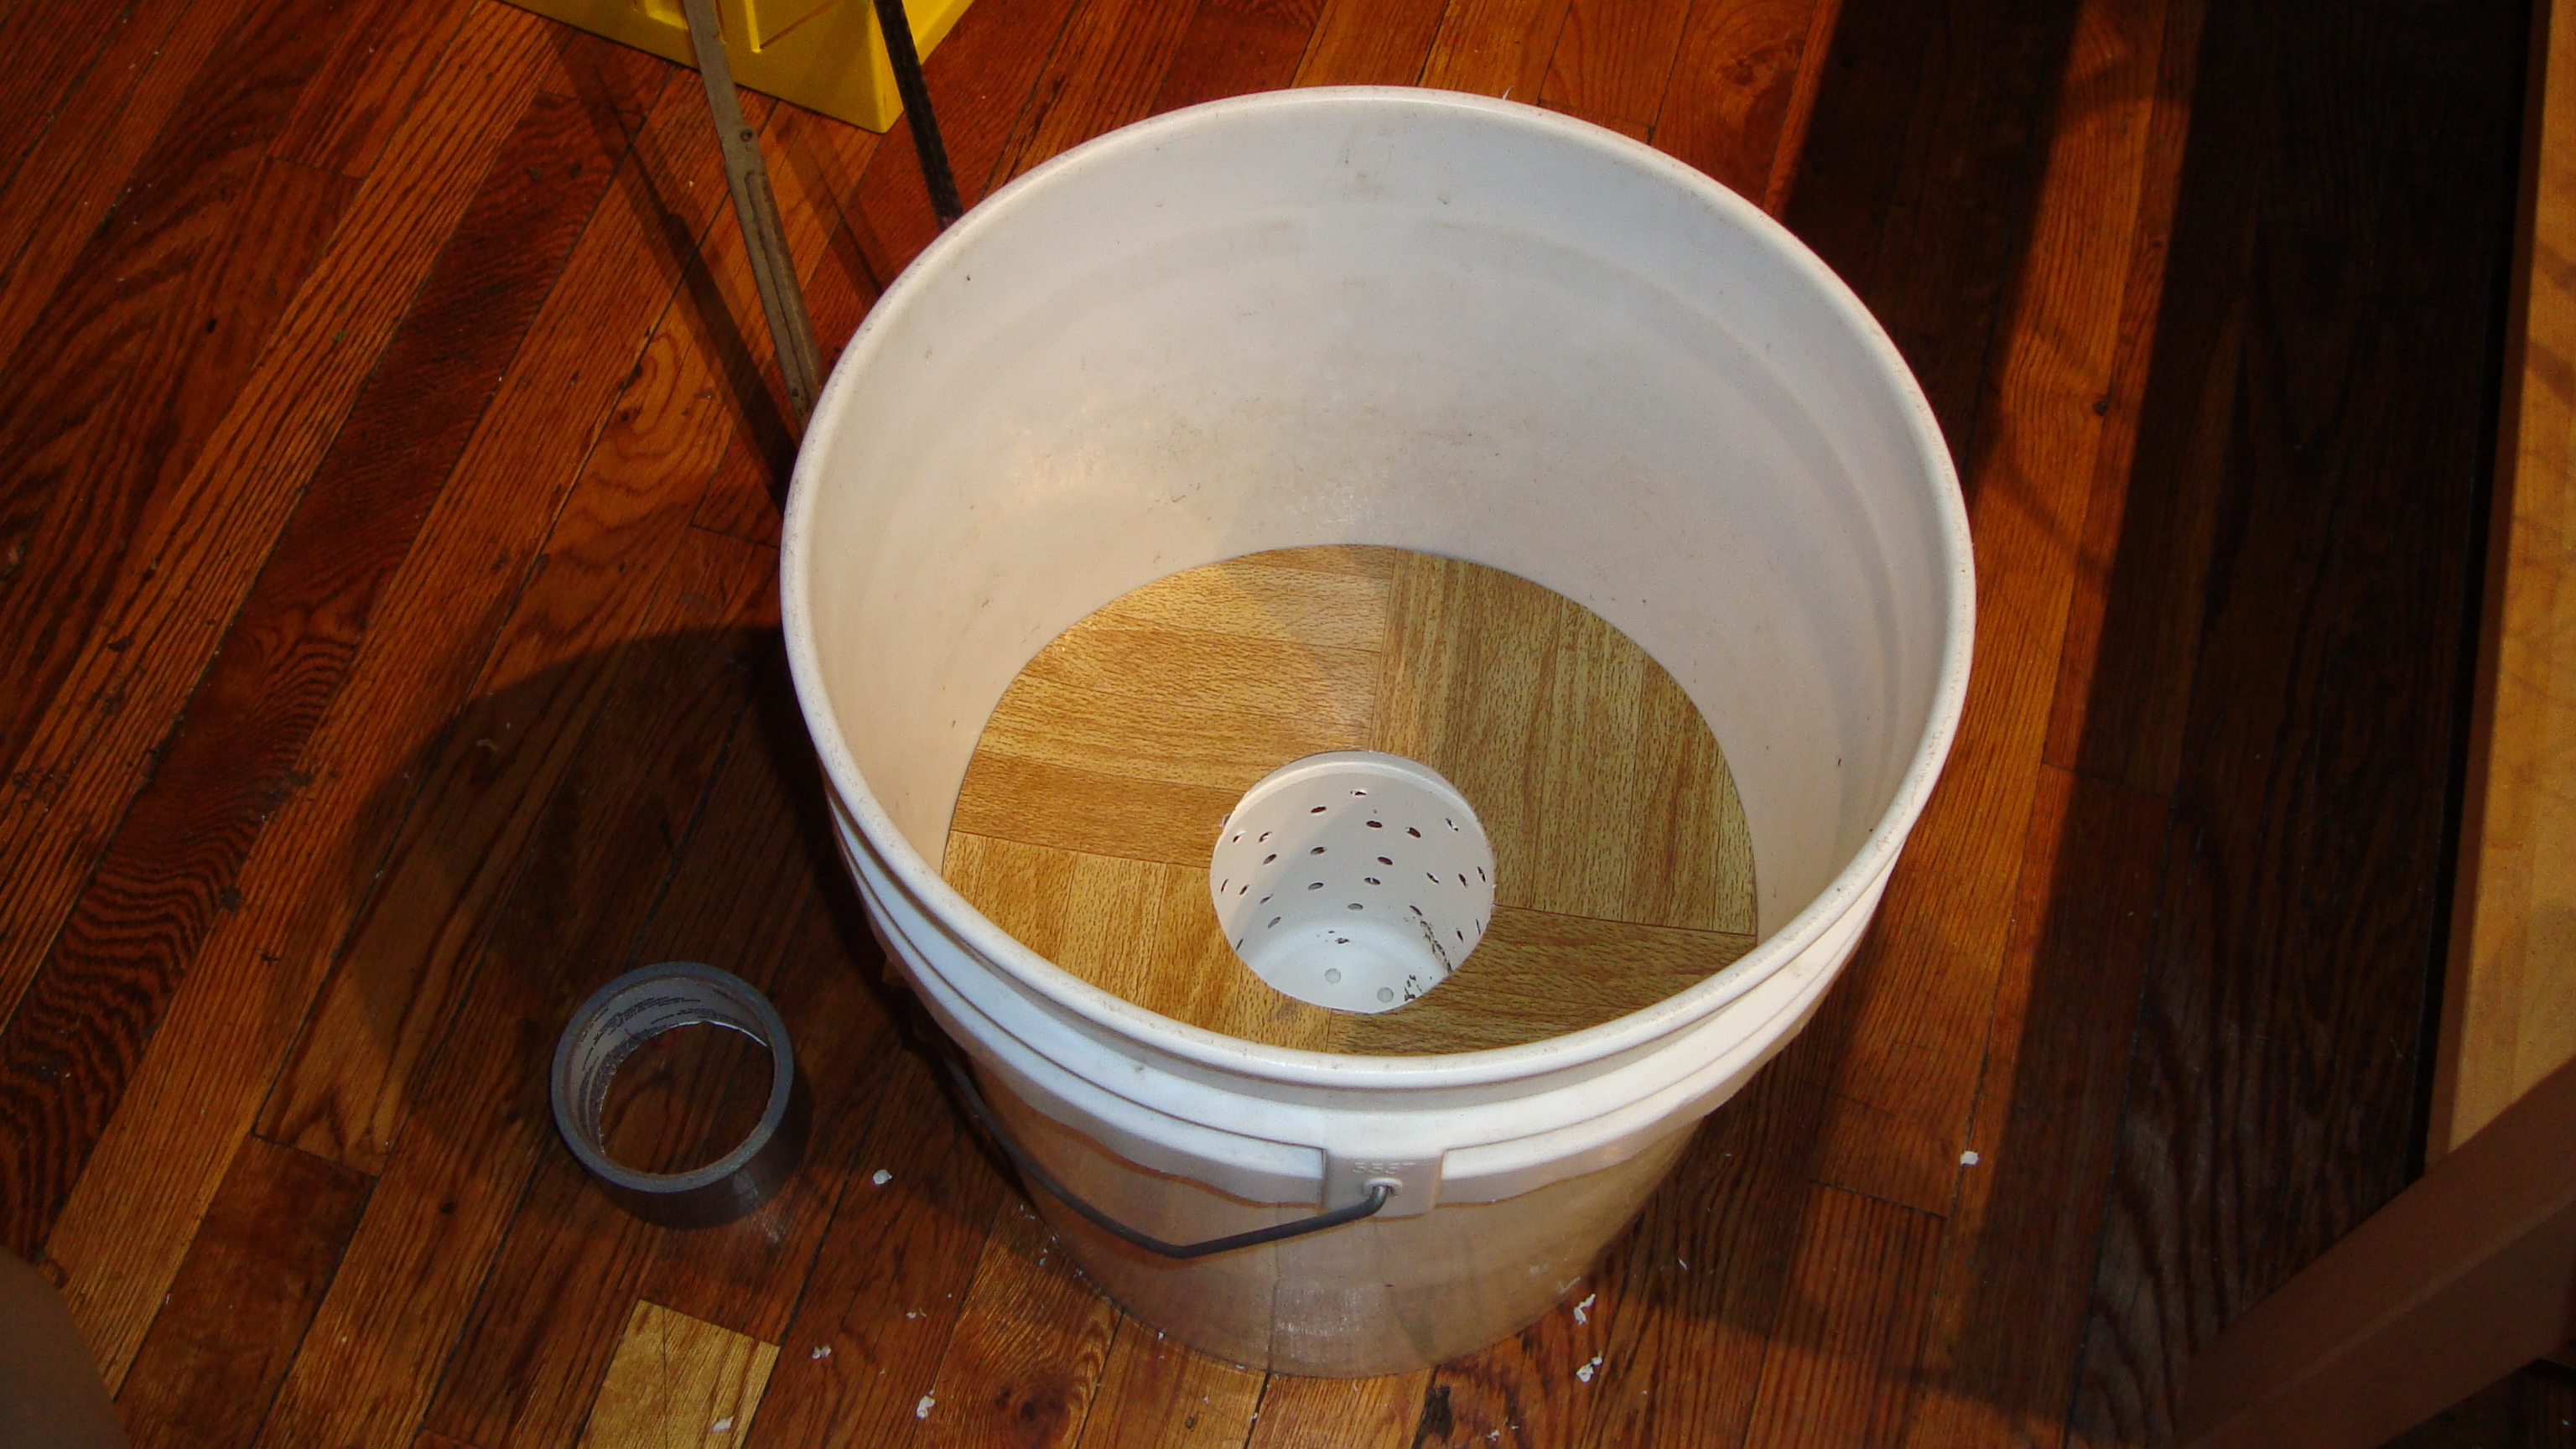
    Next onto the self watering containers. Instead of using two buckets or bins, Inside Urban Green filled in the hole that was left from the Incredible Vegetables book. It had a post on building a Simple Sub-irrigation Insert using vinyl tiles.

    Vinyl tile likely isn’t the best option in terms of water leaching, but need to balance the affordability with the money.

    Up until this point, I still hadn’t thought about the wicking container. I could easily go to the pet store and buy a pond basket, but that would cost money and I’m sure that there ways to make my own.

    I started to rummage through my grandmother’s shed and came across the jackpot. She had some old slot containers from Atlantic City (Now get it. Jackpot. Slot containers. Atlantic City). That gave me the idea to use plastic deli containers also that I can drill holes into.

    So I asked my grandmother to start to save hers, even though she has an entire cabinet filled with them. She swears she needs and used all of them. My gram, always willing to help, put out a bulletin to all of her friends as well. Also, called my parents to ask them to save as well.

    Now that I got the building aspects behind me. Need to compile all of these materials and put all of this together. Oh yea also need to figure out what I am going to plant and where. There’s that too.

    Building My First Self Watering Container Insert

    I took my first crack at making the insert for the self watering container today. The hardest part was cutting a square into circles that would fit snuggly into the bucket. Yes, I just said snuggly.

      Tools that I needed:

    • Razor blade
    • Scissor
    • Pen
    • Thumbtack
    • Rope or string
    • Something to measure water
      Materials:

    • 5-gallon bucket
    • Coin cup to use as my wicking basket
    • 1 12″x12″ vinyl tile
    • Drill with 1/4″ bit
      Steps in making the insert:

    • Put the cup in the container and fill with water. Stop when the water reached the top of the cup. Was about 9 gallons.
    • Next I traced the top and bottom circumference of the bucket onto the tile.
    • Cutting out the circle of the tile wasn’t as easy as this website implied. Eventually I cut out the circle with the help of a scissor.
    • Once the big circle was out had to cut the circle out in the middle for the wicking basket. This was fun.
    • Now I had to trim down the outer circle so that it would fit into the bucket. Used the scissor for this. It was much easier than the razor blade.
    • Then I had to drill holes in the cup. I used a 1/4″ bit and drilled a bunch of holes to allow the soil to soak up the water and feed the roots.
    • It was then put all together and a 1/4″ hole was drilled in the side of the bucket just under the insert for overflow of water.

    First step in building the self watering container bucket was to put the coin cup in the bucket and fill until the water reached the top of the cup. It measured at about 9 gallons.Building a self watering container insert - Next I traced the top and bottom circumference of the bucket onto the tileCutting a circle was difficult. I put a thumbtack in the middle of the cirlce and measured out the radius. The string was cut to that length and razor was tied to the end. I was hoping this would get a good cut. Not so much.Eventually got the circle cut out. Now had to do the same thing for the inner circle.Trimmed down the outer circle so that it would fit into the bucket. Used a scissor for this. It was much easier than the razor blade.Using the scissor made thing easier and faster. The insert fit nicely into the bucket. Next step is to drill 1/4 inch holes into the cup.Drilling the holes in the cup to make it into a wicking basket.A bunch of 1/4 inch holes were drilled into the cup. These will allow the soil and roots of the plants to absorb the water.A 1/4 inch hole was drilled into the side of the self watering container just below the insert. Once water starts leaking from it, I'll know that the container is filled.The first self watering container is nearly complete. Just need the pipe.

    One insert down, many more to go. There has to be an easier way to cut the circles.

    Starting a Vegetable Garden in Staten Island


    So in a matter of two days I’ve greatly expanded this project from a small garden on my fire escape in Manhattan to a large garden in Brooklyn and my parents in Staten Island.

    That’s a lot for someone who has zero experience in this, but that’s how I do. When I get involved in something I go full steam ahead.

    Now that I have all of these spots, the costs drastically increased. I need to let this sink in, figure out what I am going to grow and how. Also going to take another read through the book and catalog to see what’s reasonable.

    The one thing that I know I’m definitely growing a lot of is greens. No doubt on that.

    Getting the Layouts of My Vegetable Gardens


    Took the day off from work today to spend the day with my gram and to negotiate the land space with her. Before I headed out to her, I measured out the space of my fire escape garden. Not too bad about 36″x”12″. That should be enough for about three buckets without getting in the way. Just need to figure out how many soda bottle planters we can fit.

    Then I hopped on the L train and headed into Canarsie. During the train ride, I continued to read the Self Watering Container book. After some b’sn and catching up, we headed outside to scope out the land. I knew her backyard was big, but it is f’n huge.

    Here's a shot of some of the backyard. Couldn't get the whole thing in the shot. She's been living there for over 60 years.

    Here is the first plot that I was able to negotiate along the fence. The space is about 14' x 2'. Those milk crates are about 80 years old.


    I also have this entire plot of concrete which is 9' x 6' and on the cinder blocks.


    The good news is that I got a lot of land to work with and the bad news is that I got a lot of land to work with. Not sure if the bucket in bucket will work, especially for the double bins. Those are going to be at least $15 each. Need to look into other possible solutions and still fit my criteria of being affordable and as environmentally sound as possible.

    This also got me thinking that I want to expand out further. Gotta call the ‘rents this weekend to see what I can work out with them.