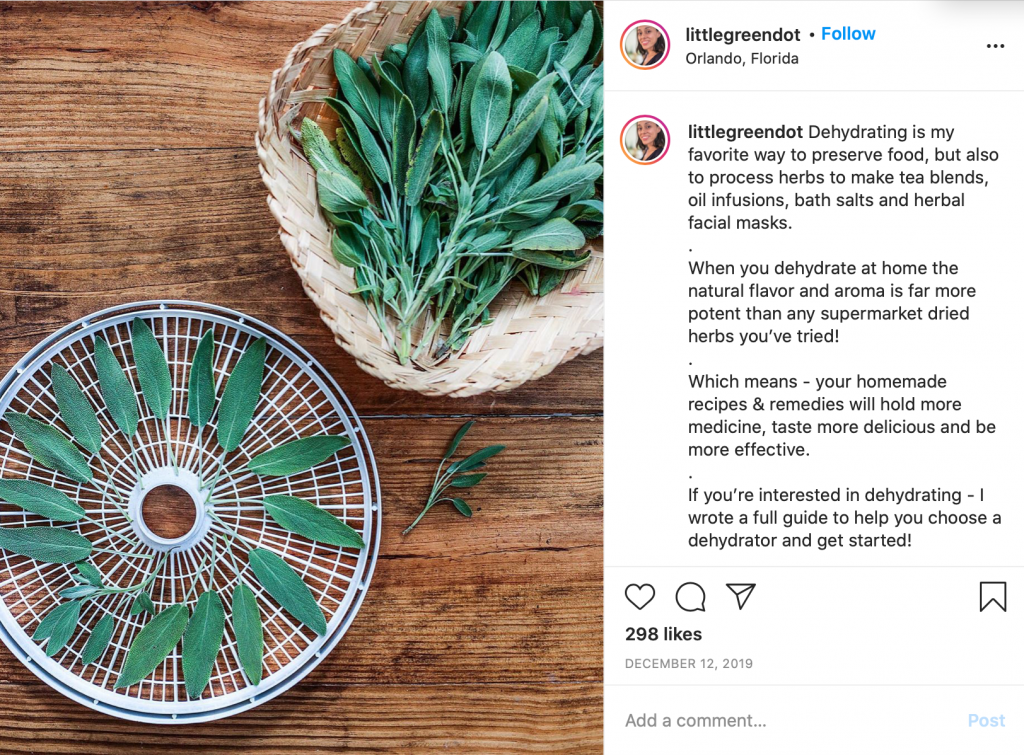
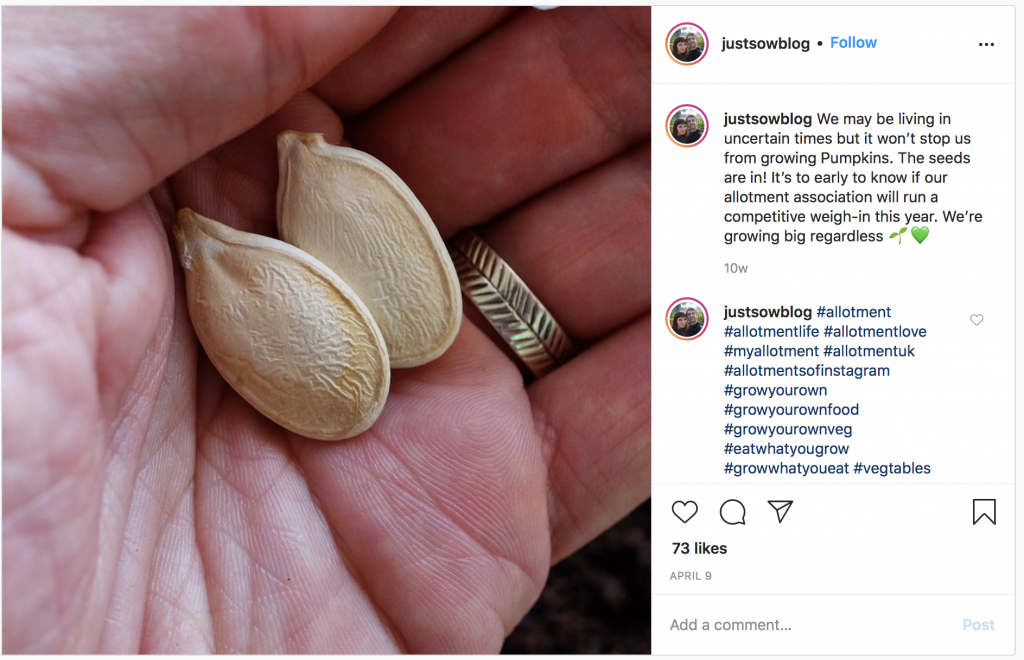
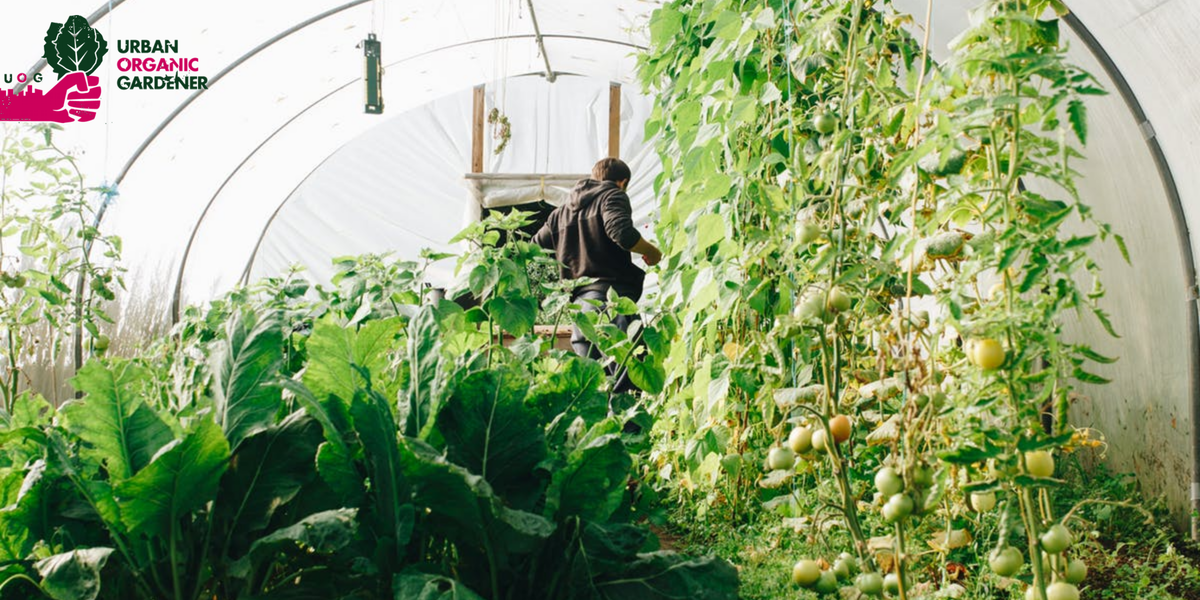
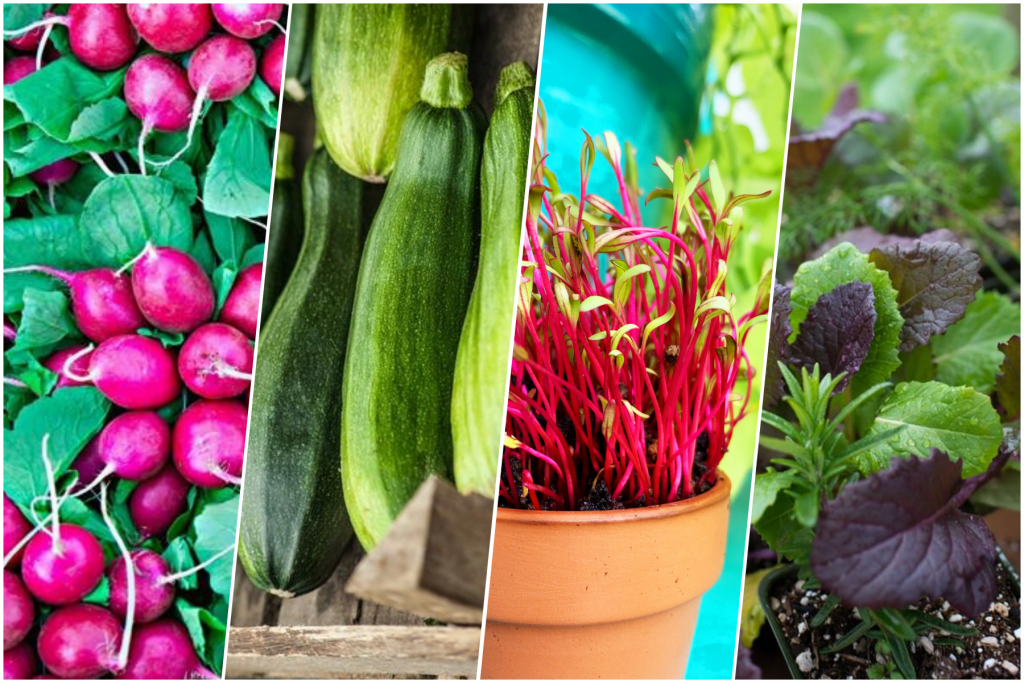
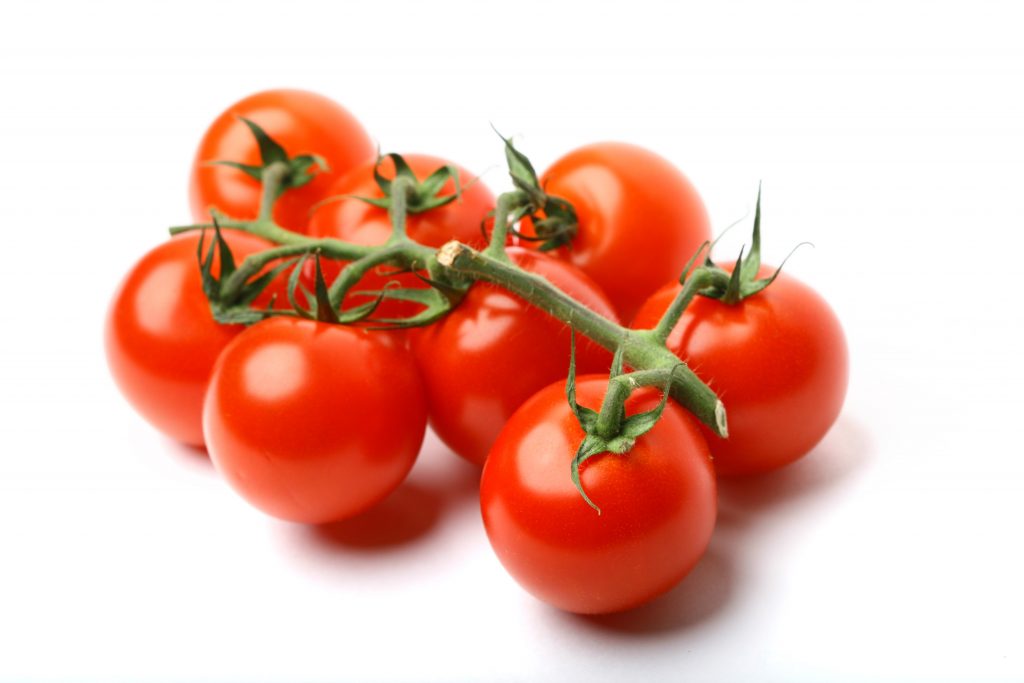
Saving tomato seeds is a popular tradition amongst most gardeners. They take their most prolific plants, and favorite varieties and pay special attention to harvesting seed for the following year.
Hybrid vs. Heirloom and why it matters: Hybrid plants are a combination of two different sets of genetic material. If a hybrid tries to mate with another plant, even another plant of the same hybrid type, it may not be able to produce any fruit at all and will usually fail to show the desired characteristics of the mother plants. For example, if a large-fruited, disease-resistant tomato plant were allowed to mate with another similar plant, the offspring might have small fruits and lack disease resistance – the benefits of creating the hybrid, to begin with, would have disappeared in producing the next generation.
Heirloom varieties have been passed down from generation to generation and have stabilized over time. They will produce fruit true-to-type, like that of that plant it came from. Repeat variety and quality can be expected as long as you avoid any cross-pollination. Learn MORE About Hybrid vs. Heirloom Plants
There are several ways that you can save your heirloom tomato seeds, but here are two of the most popular techniques.
Fermentation Method:
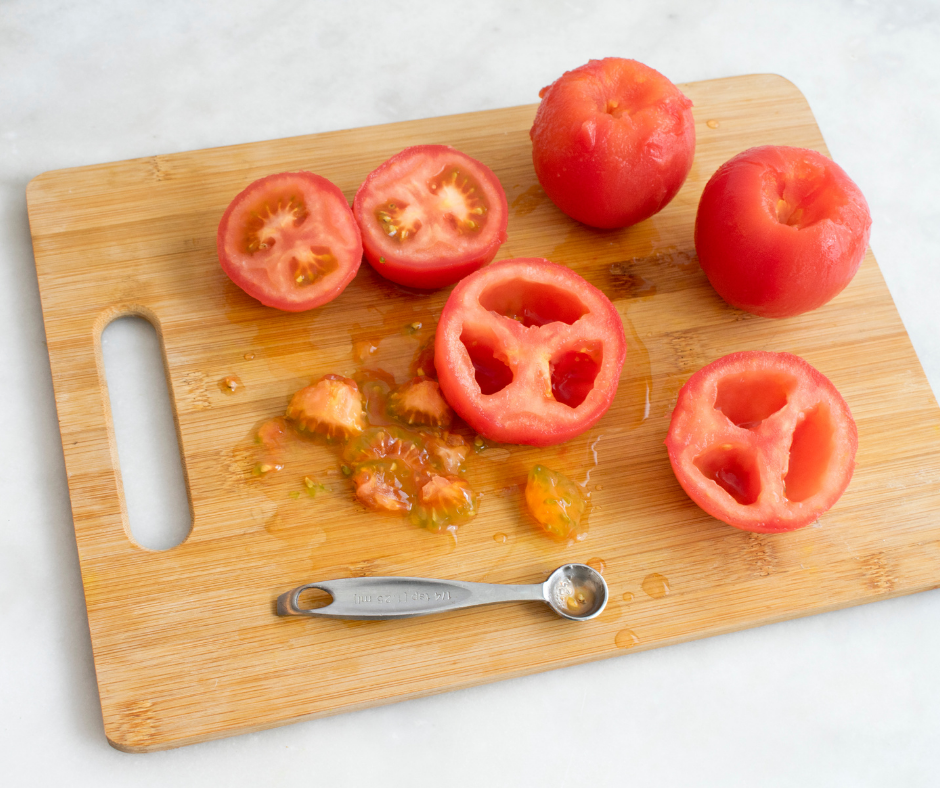
- Choose a beautiful, healthy fruit that is slightly over-ripe.
- Slice open.
- Gently squeeze seeds into a cup.
- Add a small amount of water, just enough to cover the seeds.
- Cover the cup with a kitchen towel and make sure they don’t dry out. Let ferment for 3-7 days. (Mold will begin to grow, this is normal and expected.)
- Rinse well, and allow to fully dry on a paper towel.
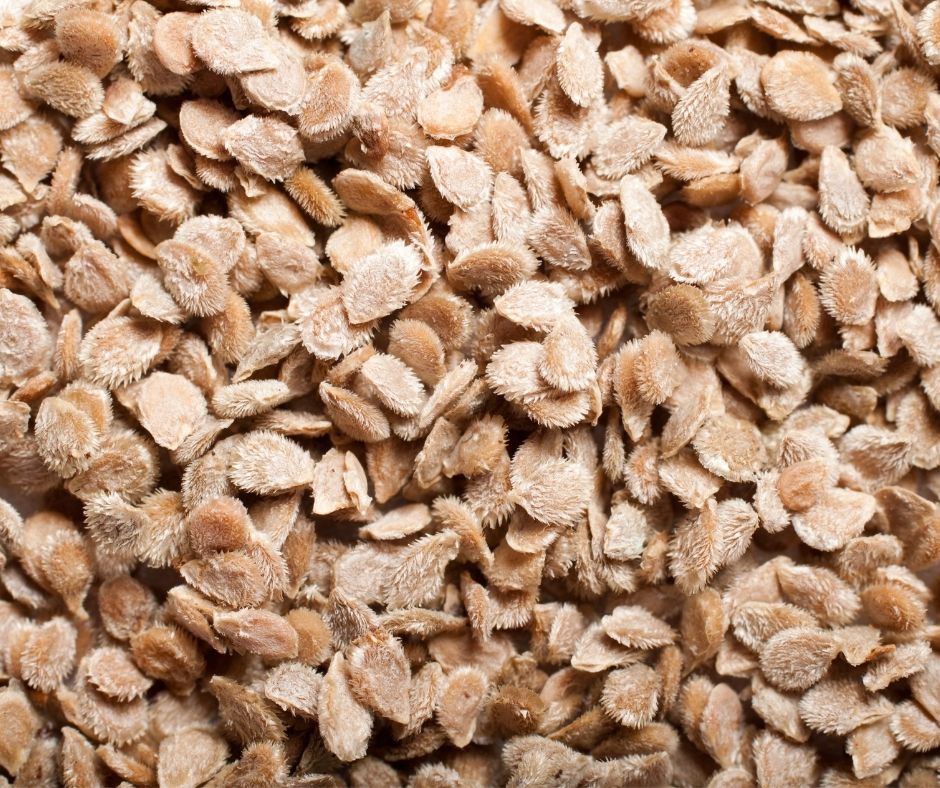
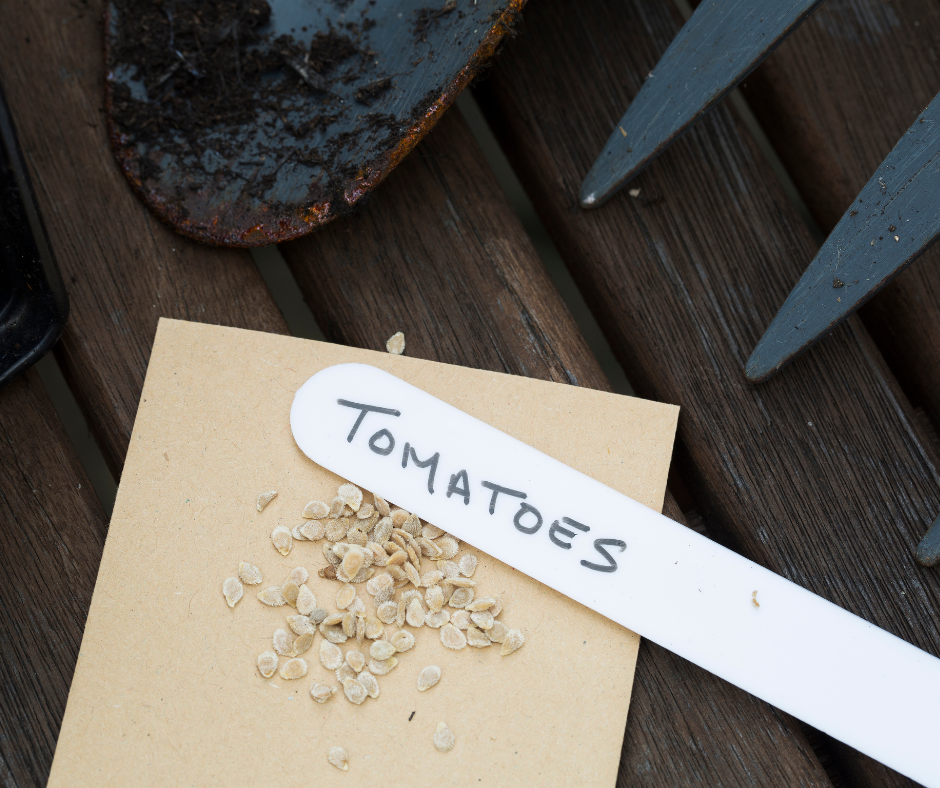
- Store in a cool, dry place such as an airtight bag or seed vault.
Non-Fermentation Method:
- Choose a beautiful, healthy fruit that is slightly over-ripe.
- Slice open.
- Gently squeeze seeds onto a paper towel.
- Let fully dry for about 1 week.
- Store in a cool, dry place such as an airtight bag or seed vault.


]")